Resource · Measurement
Measure the Duct Opening First
A field checklist for measuring the clear duct or wall opening before you shop SOKNOCKK vent covers. Use this when you need a repeatable procedure you can keep next to the ladder.
Quick Answer
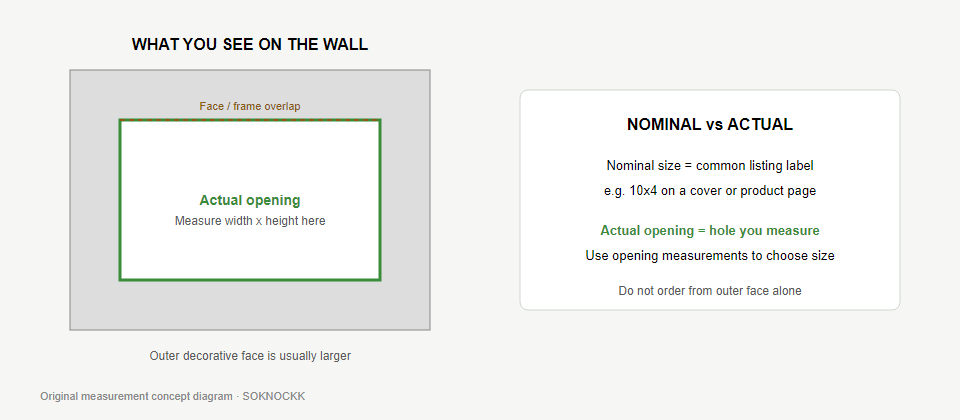
Expose the opening, measure inside width × height in inches, write it down, then match the closest Confirmed catalog size. Outer face dimensions and stamped labels are secondary.
Purpose and Who This Is For
This resource is a measurement checklist for homeowners and helpers selecting a decorative linear-style vent cover. It complements the longer narrative guide How to Measure Your Vent Opening and the sizing FAQ How do I choose the right vent cover size?. Keep this page (or its PDF) on site; use the blog when you need explanations and worked examples.
Before You Start
- Plan safe access for wall or ceiling locations.
- Have a tape measure and a place to write numbers.
- Support ceiling covers before loosening the last screws.
- Consider shutting the system off if debris could enter the duct.
Measurement Procedure
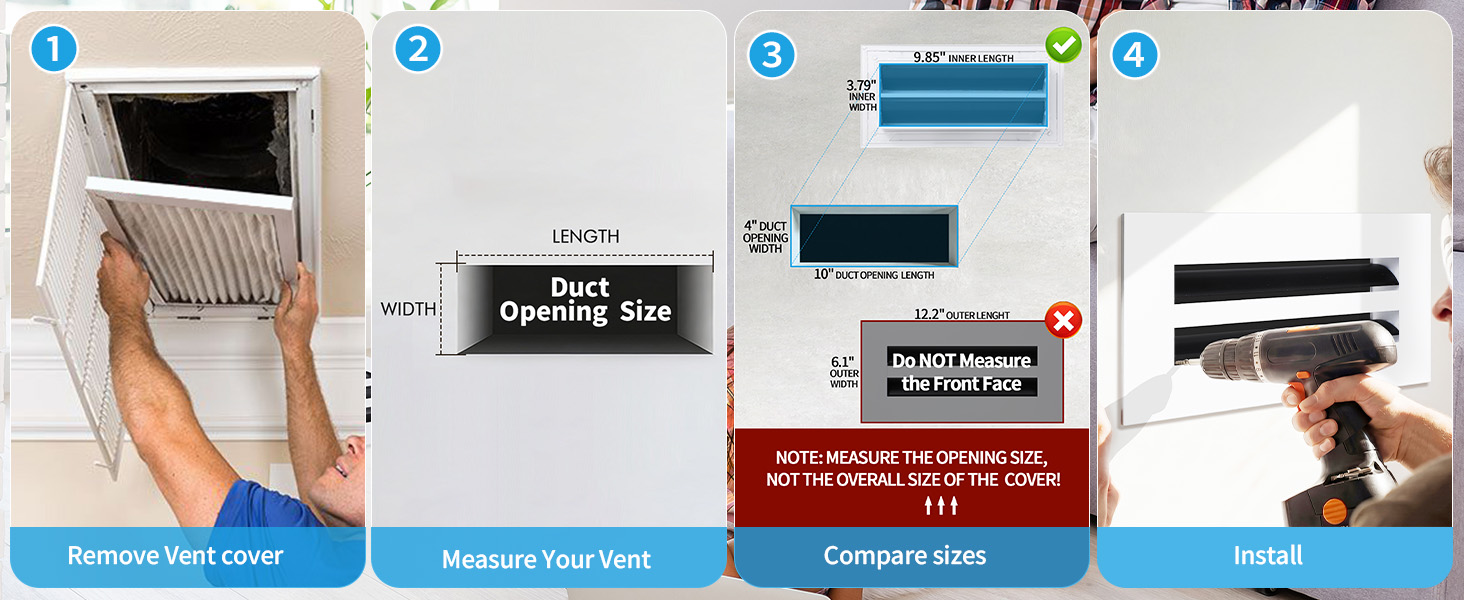
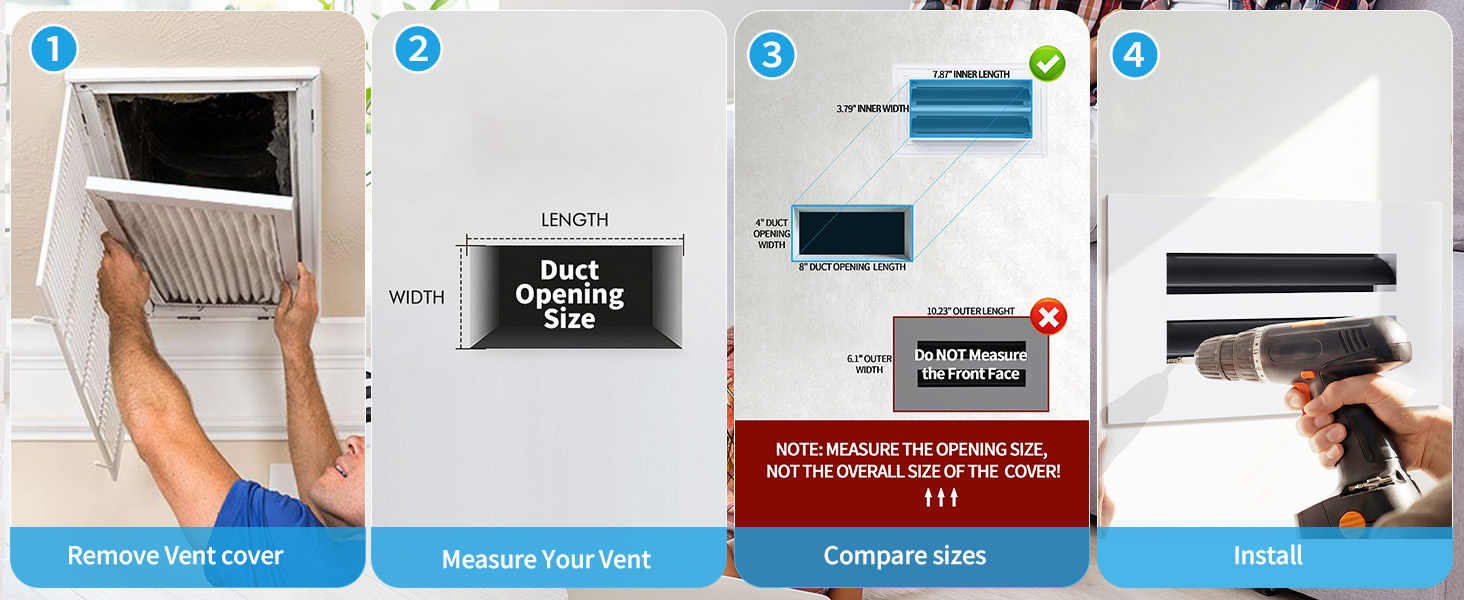
- Remove the old cover when safe, or expose enough of the opening to seat the tape on the clear rectangle.
- Measure inside width across the opening.
- Measure inside height across the opening.
- Repeat once. If the opening is irregular, note the smallest clear width and height.
- Photograph the opening with the tape visible.
Wall vs Ceiling Notes
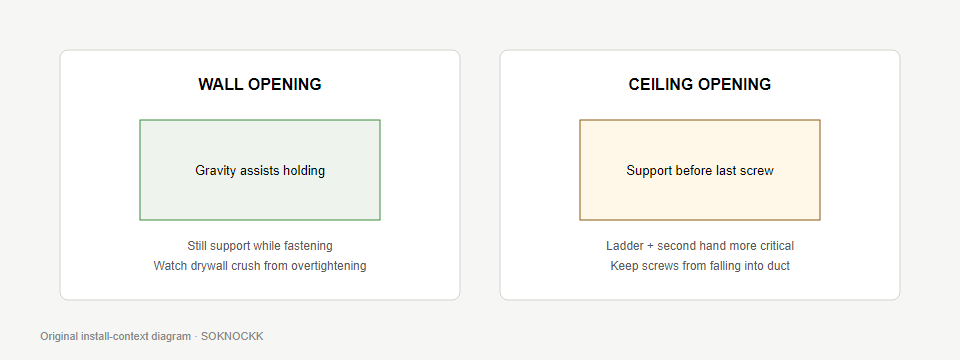
Write the same width × height format either way. Ceiling work changes handling risk, not the definition of the opening.
What to Record
| Field | Example |
|---|---|
| Width × height (inches) | 10 × 4 |
| Location | Bedroom ceiling / hallway wall |
| Old label (if any) | “10×4” stamped on face |
| Finish preference | White or Black |
| Photos | Opening + tape in frame |
Measurement Quality Checks
- Tape seated on the clear rectangle, not on protruding insulation.
- Both axes measured twice.
- Numbers written as width × height with units (inches).
- Photo evidence retained for quote requests.
Multi-Room Jobs
Measure every opening independently. Do not assume hallway and bedroom boots share a size family. Create a simple log: room, location, width × height, finish preference, notes.
Next Steps
- Compare the reading to Vent Covers.
- Confirm Size before Color (Choose Size and Color Independently).
- On Confirmed pages, cross-check the size-specific How-to-Measure module.
- Purchase Confirmed rows, or use Contact / Add to Quote when you need help.
When Not to Proceed
- Damaged, non-rectangular, or obstructed openings.
- You cannot safely support a ceiling cover.
- You are between sizes with no photo evidence — ask first.
Worked Field Examples
| Room | Tape | Label | Action |
|---|---|---|---|
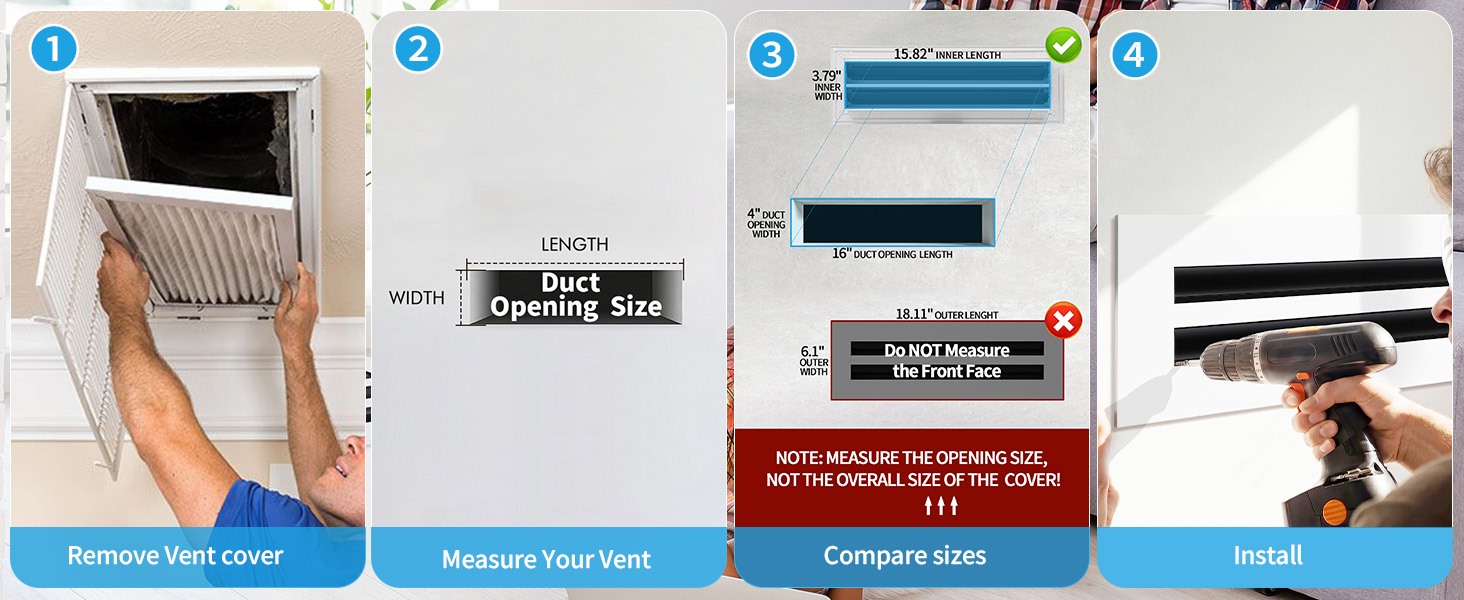
| Hall wall | 10 × 4 | 10×4 | Shop 10×4 Confirmed; finish after |
| Bedroom ceiling | 16 × 4 | (none) | Shop 16×4; support cover during removal |
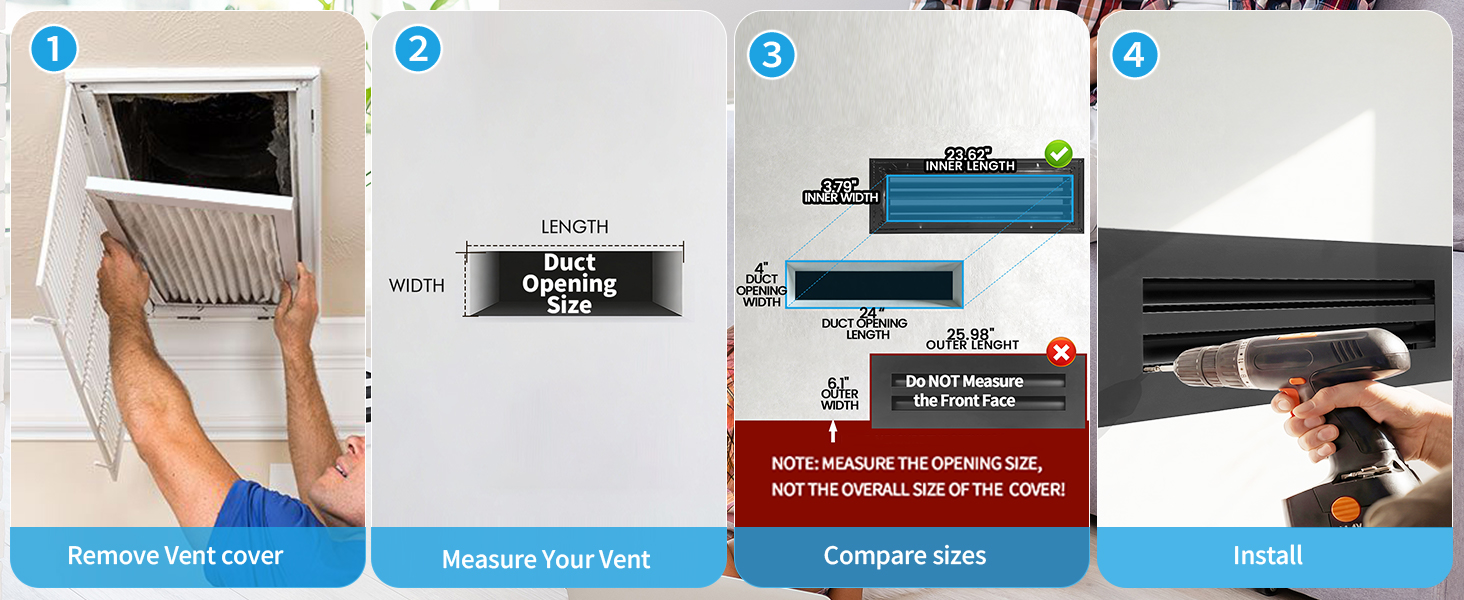
| Living return | 24 × 4 | 24×4 | Confirm opening type; then size |
| Guest room | ~9.7 × 3.9 | 10×4 | Compare to 10×4; photo if unsure |
Common Field Errors
- Measuring the outer face flange.
- Writing height × width without labeling which is which.
- Skipping a second measurement on out-of-square openings.
- Assuming every room shares one size.