Resource · Installation
Installation Basics
Core mounting orientation for a correctly sized SOKNOCKK vent cover after measurement and purchase. For the full replacement sequence — removal, inspection, and illustrated steps — use the dedicated replace guide.
Quick Answer
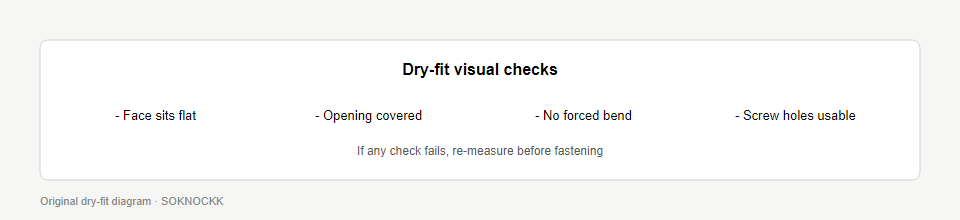
Confirm size fit with a dry fit, align the face square to the opening, then fasten through the cover’s mounting points without over-torquing into damaged drywall. Stop if the opening or boot is unsafe.
Scope
This page covers orientation-level installation basics after you already measured and selected a Confirmed size. It is not a substitute for How to Replace a Vent Cover, which includes removal, inspection, richer illustrations, and the downloadable replacement PDF.
Preconditions
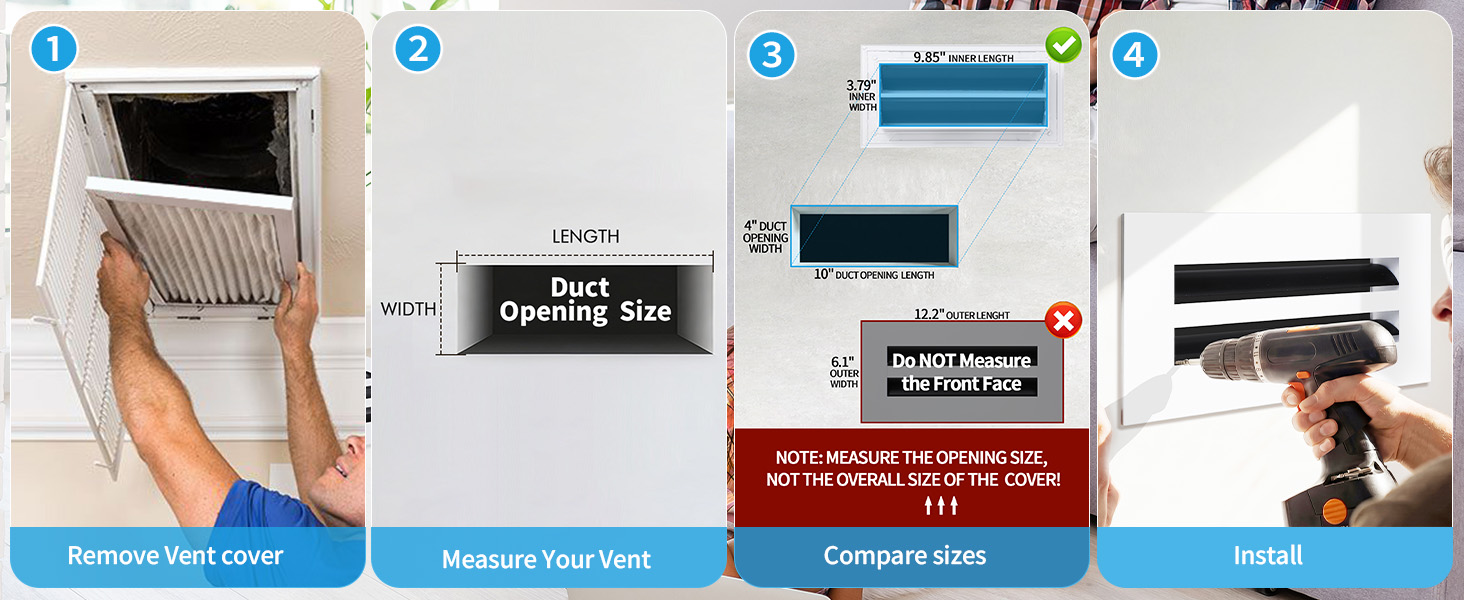
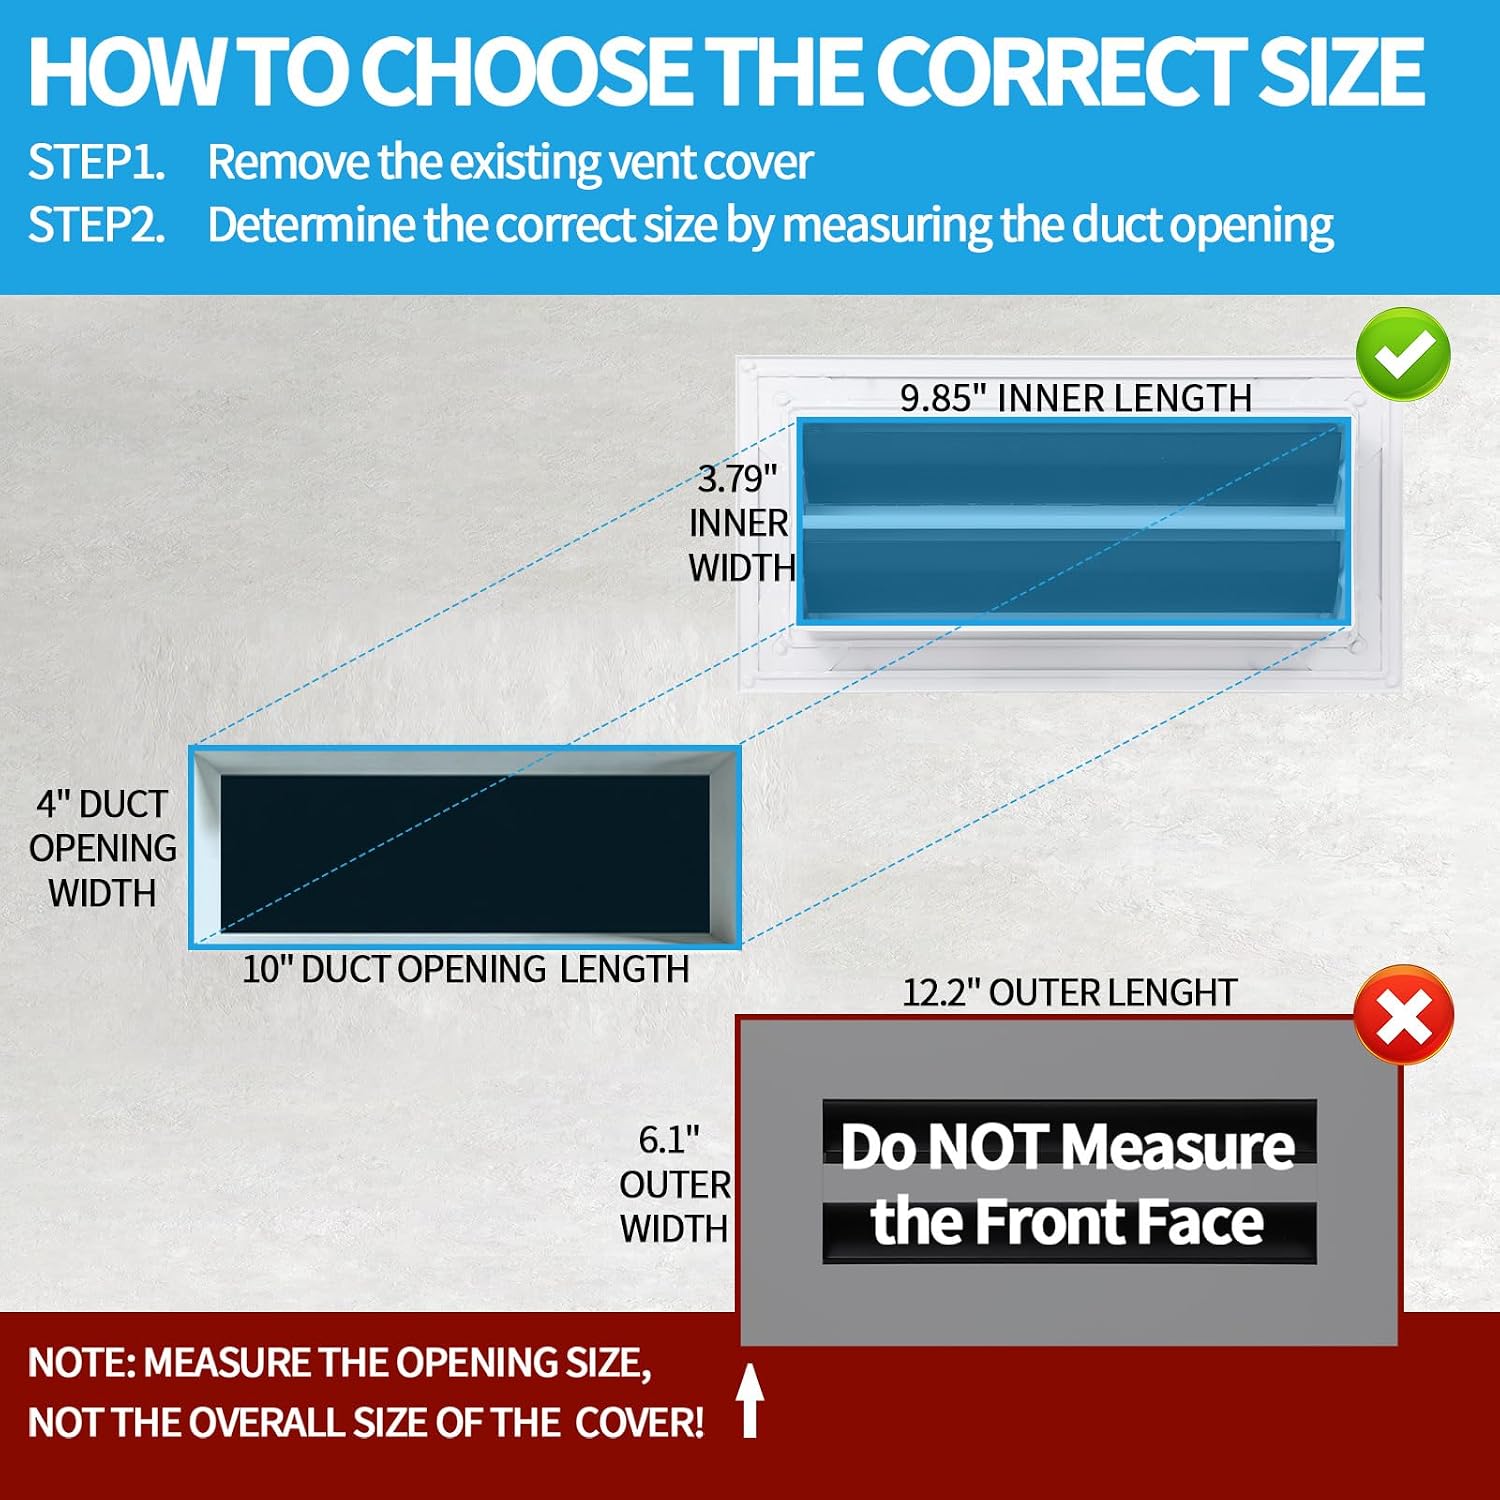
- Opening measured and catalog size matched.
- Cover on hand matches Size+Color ordered.
- Opening edges sound enough to take fasteners.
- System off if debris could enter the duct.
Basic Install Steps
- Dry-fit the cover over the opening. Check that the face covers the cut edges without large gaps.
- Confirm any adjustable hardware on your unit moves freely before final fastening.
- Start fasteners by hand to avoid cross-threading.
- Snug fasteners evenly. Do not crush soft drywall by overtightening.
- Wipe fingerprints; restore airflow and listen for rattle.
Wall vs Ceiling
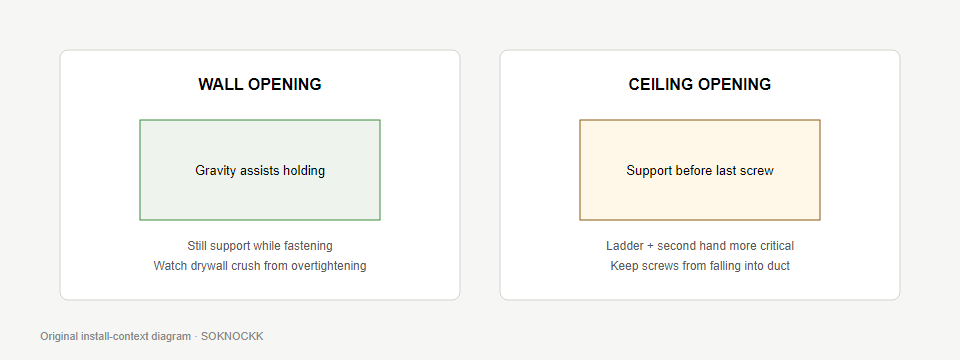
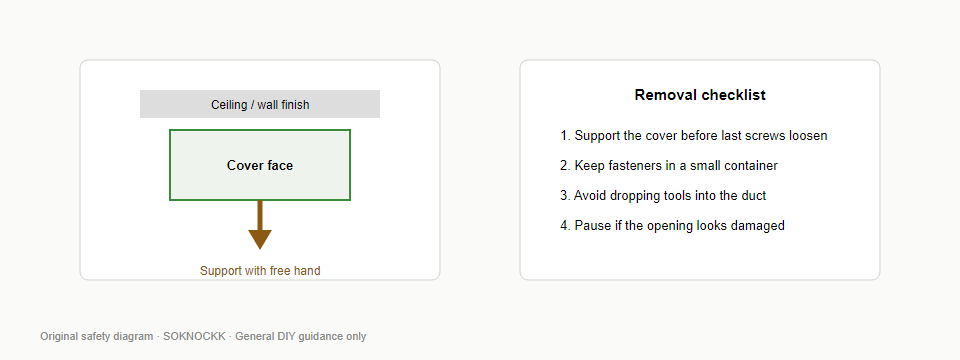
Ceiling locations need a second hand (or helper) supporting the face until fasteners bite. Wall locations still need square alignment so linear slots read level with nearby trim.
After-Install Checks
- Face sits flat without rocking.
- Fasteners snug, not crushing drywall paper.
- No rattle at normal fan speed.
- Any adjustable hardware still movable.
Do Not
- Force a cover that clearly misses the opening during dry fit.
- Reuse crumbling anchors without repair.
- Treat this page as a full replacement manual — use the replace guide for removal and inspection.
Safety Notes
- Do not stand on unstable furniture to reach ceilings.
- If anchors crumble, stop — that is a repair issue, not a cover issue.
- This guidance is general DIY information, not a licensed contractor manual.
Dry-Fit Detail
Before driving fasteners, hold the cover over the opening. Check coverage of cut edges, rocking, and whether mounting holes land on sound material. If the dry fit fails, stop — do not force the face into a wrong size.
| Check | Pass | Fail action |
|---|---|---|
| Covers cut edges | Small even reveal | Re-check size / opening |
| Sits without bending | Flat face | Stop; inspect opening |
| Holes over sound material | Fasteners can bite | Repair anchors / ask for help |
Where This Fits in the Full Sequence
- Measure (measure checklist).
- Buy Confirmed Size+Color.
- Remove old cover safely (replace guide).
- Inspect opening.
- Dry-fit and fasten (this page).