Resource · Installation checkpoint
Dry-Fit Checklist Before Fastening
Hold the new cover in its intended position before driving a screw. Use this checklist to verify seating, coverage, mounting alignment, clearance, and support while corrections are still easy.
Use at: an existing wall or ceiling opening, after safe removal of the old cover and before fastening the replacement. Follow the specific cover’s installation instructions wherever they set requirements.
Quick answer
Proceed only when the cover seats without force, conceals the opening as intended, aligns with suitable mounting points, and leaves any moving parts or service access clear. Confirm the fasteners and their receiving material before starting. Keep the cover supported throughout the trial fit, especially overhead.
Stop if: you need screw pressure to flatten the face, a hole misses sound support, the back hits an obstruction, or you cannot safely hold and fasten the cover. A screw should secure a verified fit; it should not correct an unresolved fit problem.
Use your browser print command to keep this checklist beside the work area, and check each box only after observing a pass.
Prepare the opening and your work position
Have the selected cover, its instructions, a tape measure, flashlight, appropriate screwdriver, pencil, and a container for hardware within reach. Protect the finished face from tools and rough surfaces. Do not assume screws or mounting accessories are included unless the specific listing confirms them.
- ☐ Make access stable. Clear the area and use suitable access equipment. Arrange help if supporting the cover and handling tools would require stretching or losing balance.
- ☐ Support removal. If the old cover remains installed, support it before loosening its last fastener. Set it and its hardware aside without dropping debris into the duct.
- ☐ Inspect before covering. Turn the system off during the work. Use a light to inspect visible edges and mounting areas. Stop for loose ductwork, crumbling material, moisture damage, or an uncertain mounting arrangement.
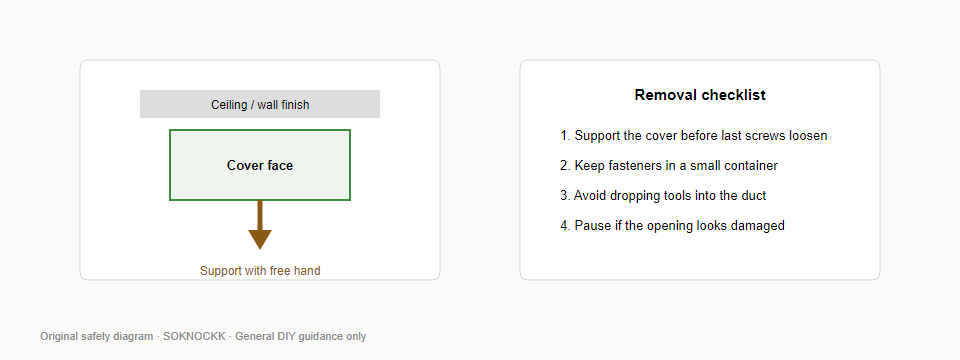
The pre-fastening checklist
Work through these checks in order. If one fails, lower the cover, resolve the cause, and repeat the affected checks. Keep hands away from sharp edges and never release an unsecured cover to see whether it stays put.
- ☐ 1. Verify the selected cover. Compare the measured opening with the size definition and dimensions specified for this cover. Confirm Size, then Color. An old face’s outside dimensions or a familiar label alone do not establish compatibility.
- ☐ 2. Confirm the intended application. Verify that this cover and mounting method suit the opening and its wall or ceiling location. Preserve required filter access and system functions. If supply or return suitability remains uncertain, resolve that before continuing.
- ☐ 3. Check rear clearance. Inspect the portion that enters or sits over the opening. Bring the cover toward its position gently. It must clear visible duct edges and other components without bending, scraping, or being pushed past resistance.
- ☐ 4. Establish natural seating. Hold the cover with light, even support. Check each corner and edge for rocking or a raised area. Identify whether contact comes from debris, a paint ridge, an uneven surface, or an interference behind the face. Do not use screws to pull it flat.
- ☐ 5. Verify coverage and position together. Look around the full perimeter. The face should conceal the opening as intended while remaining properly seated. Check nearby trim and the intended visual alignment. Moving it to hide an exposed edge must not compromise mounting alignment.
- ☐ 6. Inspect every mounting location. Confirm that each required hole aligns with a suitable receiving point. Check the condition of existing holes and support. An old screw hole is not proof of secure attachment, and a decorative edge is not necessarily mounting support.
- ☐ 7. Verify the hardware. Follow the specified fastener type, size, and attachment method for the actual receiving material. Confirm what lies behind the proposed path before drilling or driving. Do not substitute a longer screw simply because an existing hole will not hold.
- ☐ 8. Check operation and future access. If the assembly has adjustable parts, a removable panel, or a filter access function, verify its required movement while the cover is safely supported. Do not force components or assume every decorative cover provides these features.
- ☐ 9. Rehearse the fastening position. Confirm that you can keep the cover aligned and supported while reaching all required fasteners. For overhead work, arrange a helper when needed; temporary tape does not establish secure support.
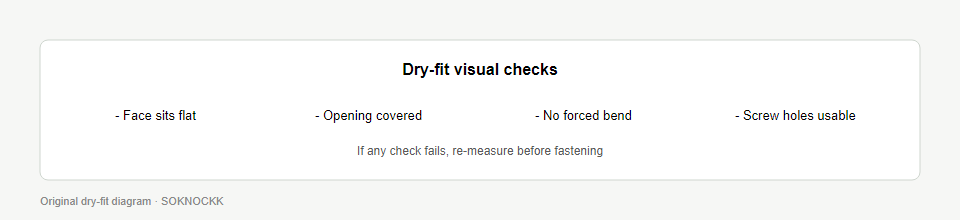
Go/no-go decision table
| Checkpoint | GO | NO-GO and next action |
|---|---|---|
| Seating | Face rests in position without force or unexplained rocking. | Raised corner or springing face: remove it and identify the contact point. |
| Coverage | Opening is concealed as intended in the correct mounting position. | Visible opening or forced offset: recheck dimensions and cover suitability. |
| Rear clearance | Rear components clear the opening without interference. | Contact or scraping: verify compatibility before modifying anything. |
| Attachment | All required mounting points and fasteners are verified. | Missed, stripped, or unsupported hole: resolve the mounting method first. |
| Function | Required movement and service access remain available. | Binding or blocked access: correct the fit or select a suitable assembly. |
| Handling | Cover can stay supported during the entire fastening step. | Unstable reach or inadequate support: lower it and rearrange access or help. |
Decision rule: an unknown result counts as NO-GO. If a repair or different mounting method is needed, obtain appropriate guidance and repeat the dry fit after that work.
Match the cover in your hands
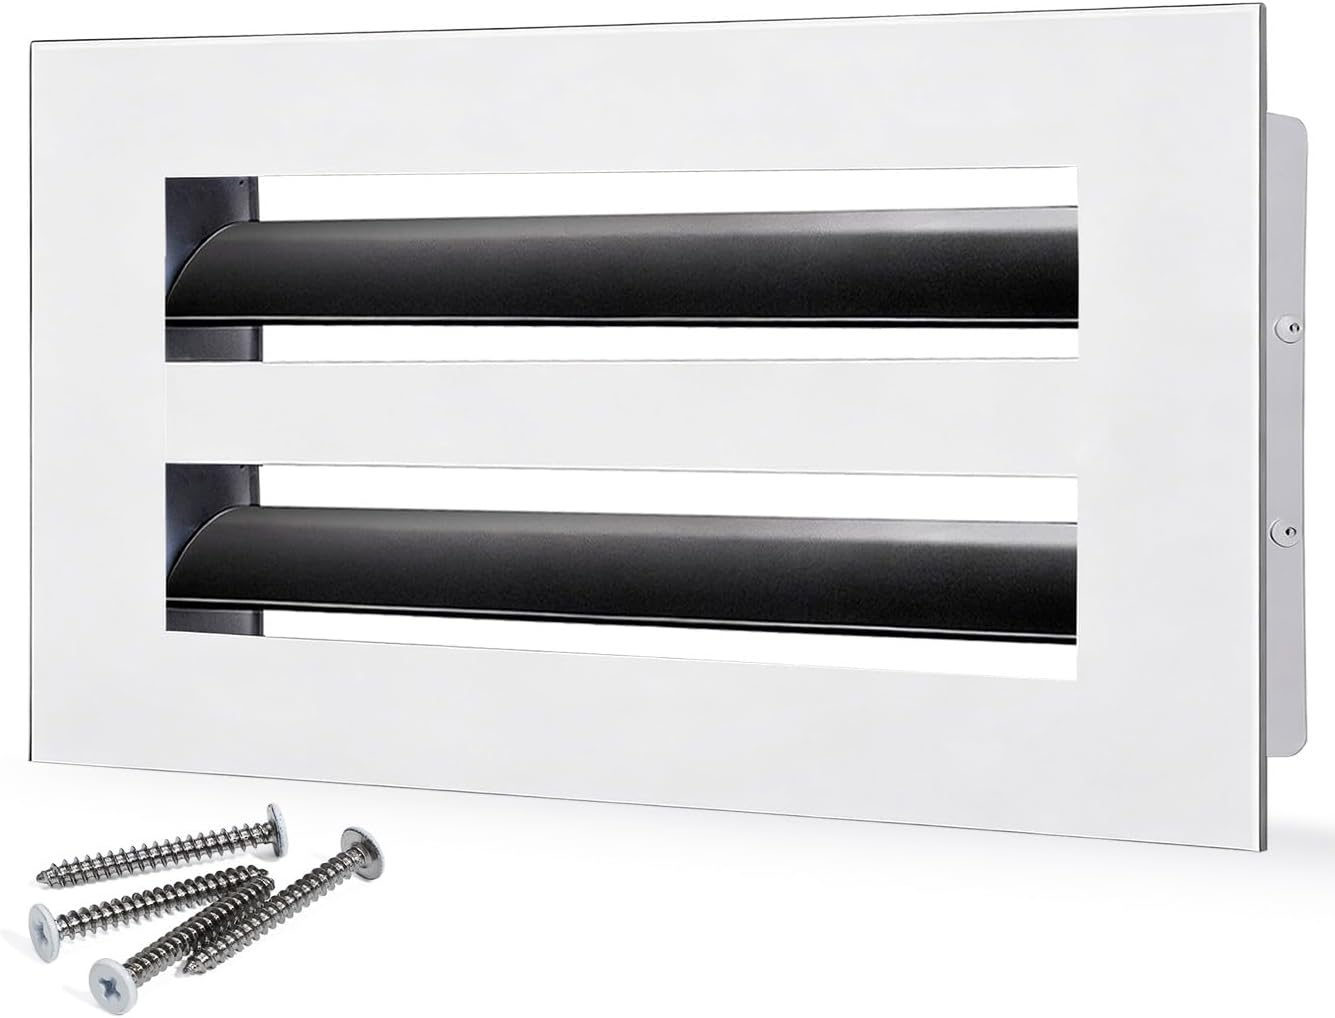
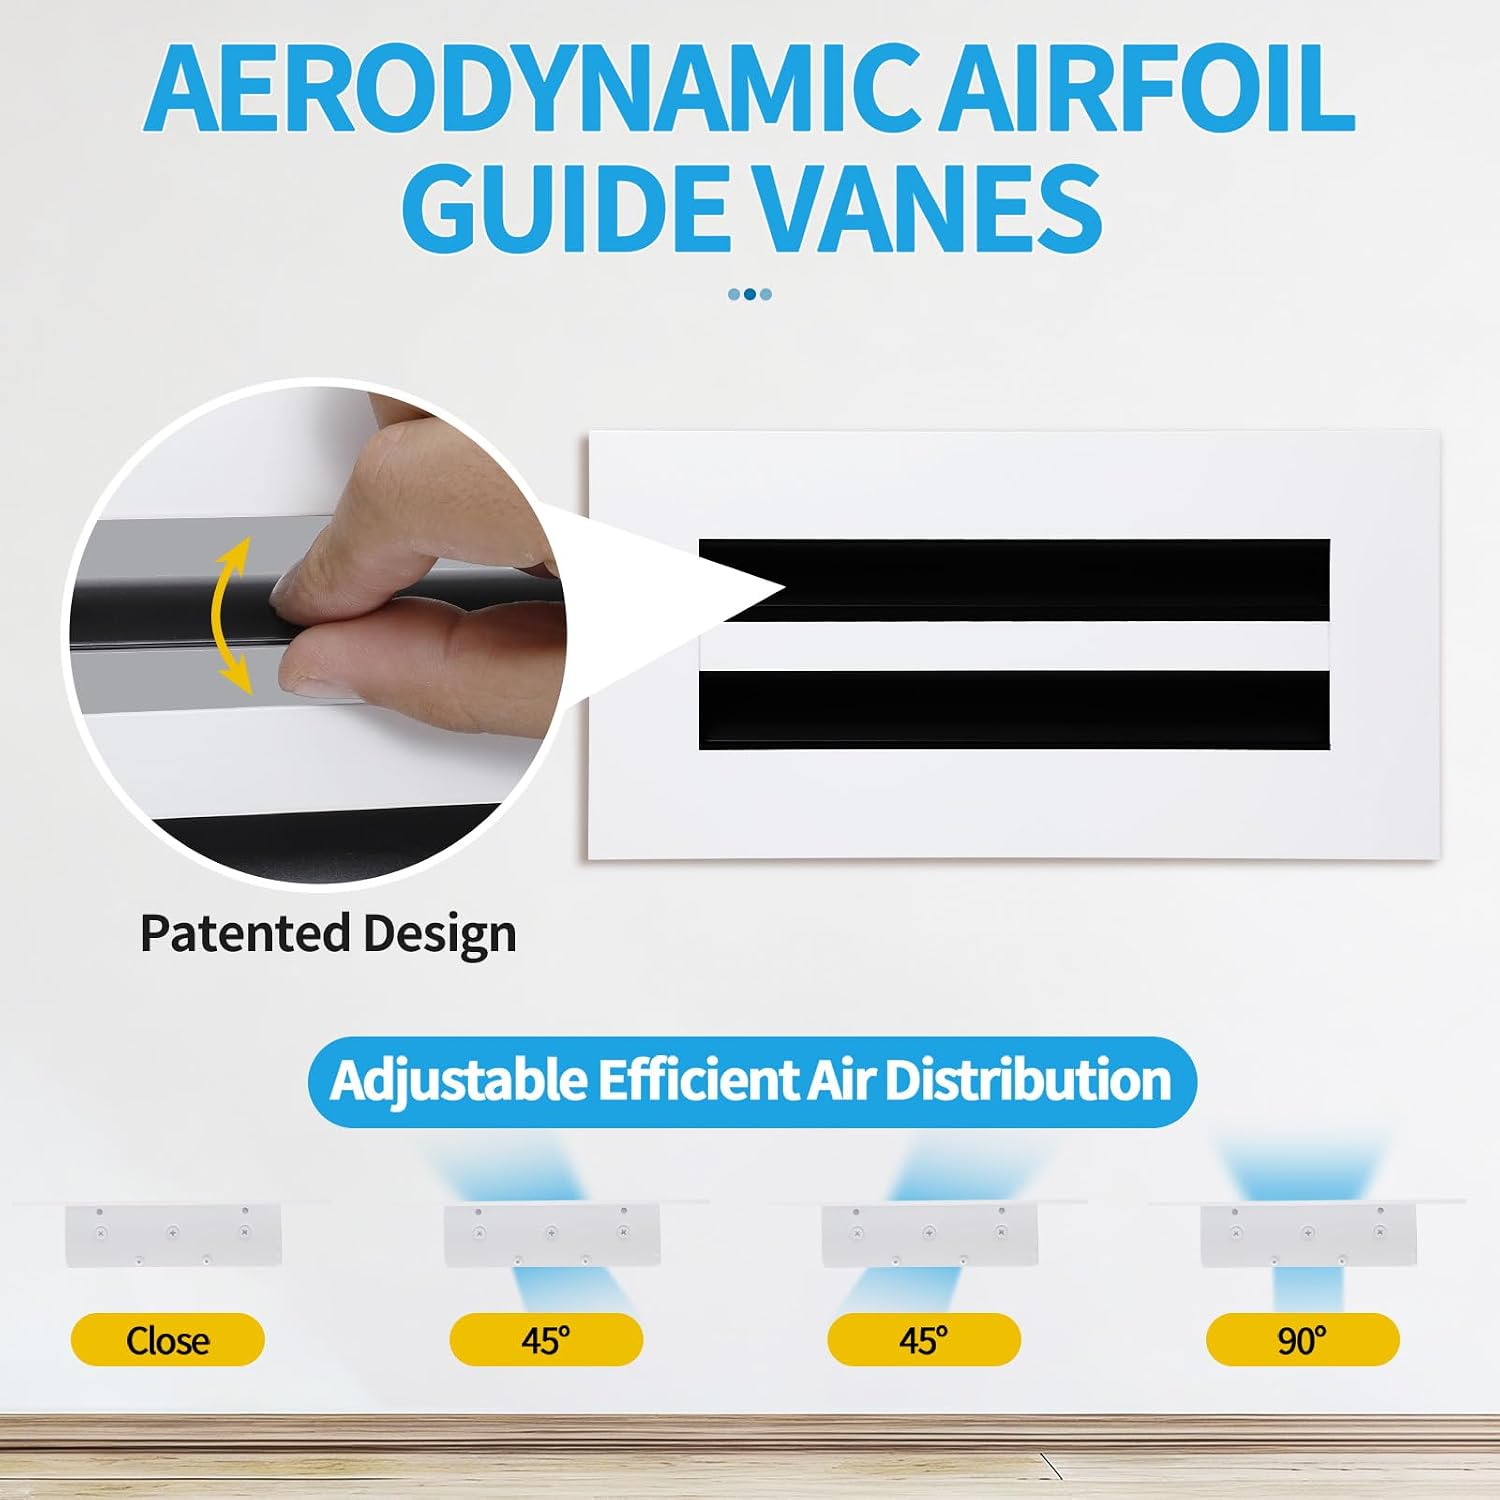
These Confirmed 10×4 White photos provide a product reference. Compare the delivered item with your order, then use its actual dimensions and instructions for the checks above. The photos do not establish screw specifications, hidden clearance, or compatibility with your opening.
Final release to fastening
- ☐ Every applicable dry-fit check passes; no unresolved interference or mounting question remains.
- ☐ The intended position and all required attachment points have been verified together.
- ☐ Correct hardware, a suitable driver, and continuous support are ready.
Once all three boxes pass, begin fastening according to the cover’s instructions. Keep it supported and aligned. If tightening shifts the face, introduces a gap, or distorts the finish, stop and reassess the fit rather than adding force.