Replacing a Ceiling Linear Vent Cover: Access, Fit, and Safety Decisions
A ceiling cover has to be reached safely, supported while it is handled overhead, and secured into a sound landing. Before ordering a new face, confirm what the opening serves and how the existing cover is attached. Then judge whether a like-for-like cover can sit flat and fasten securely without altering the duct or ceiling.
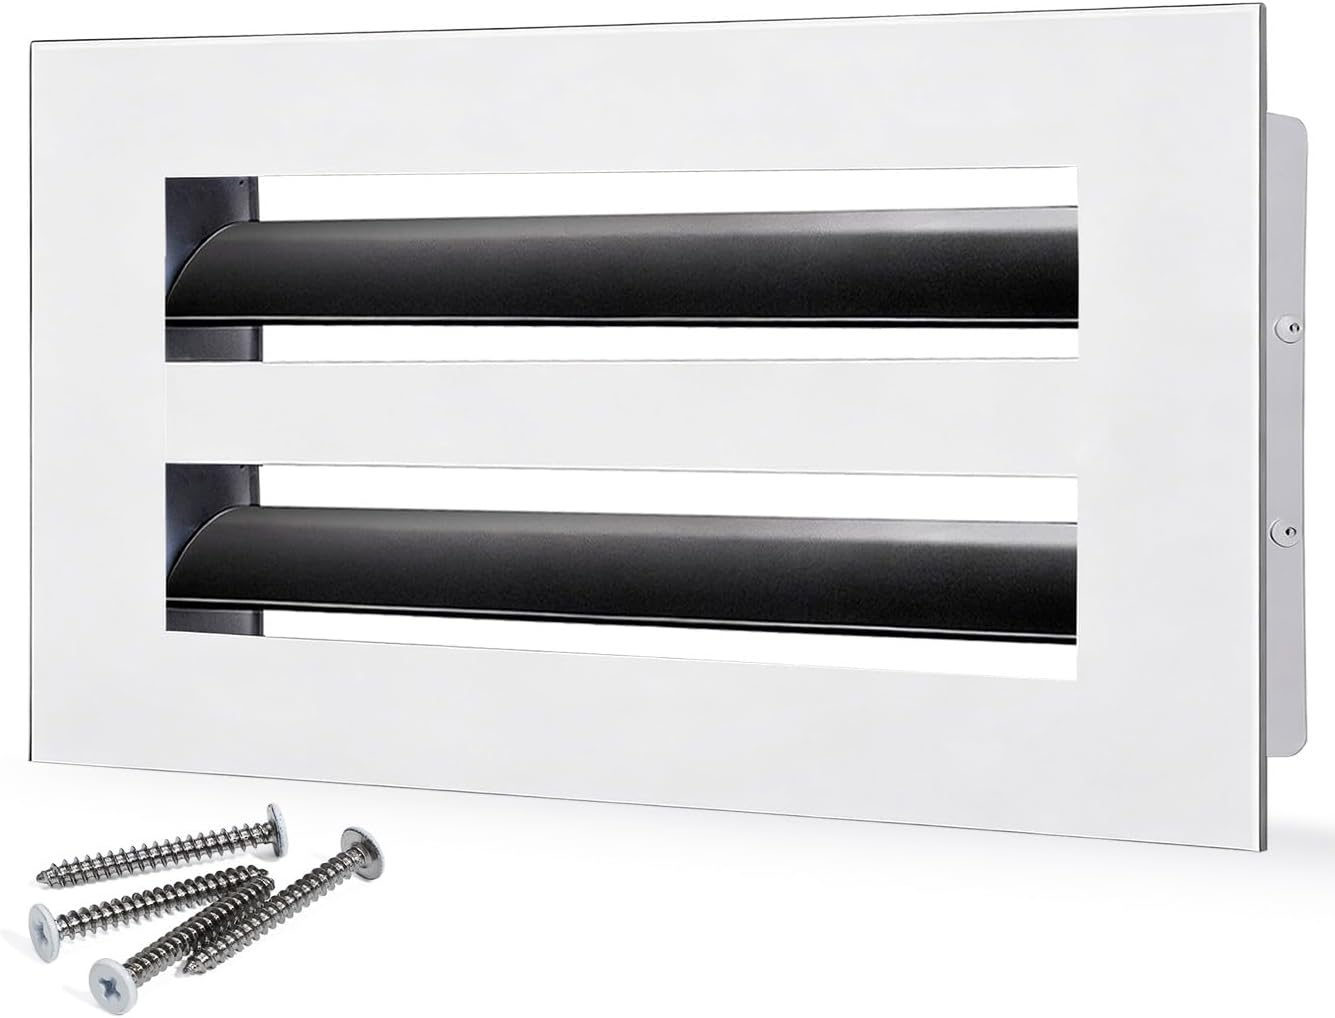
Quick answer
Replacing a ceiling linear vent cover is a reasonable DIY task only when you can work from a stable, correctly positioned ladder, remove the face without damaging the ceiling or duct, and confirm that the replacement fits the opening and has sound fastener landing. Hold and test-fit the new cover before committing to screws. If it rocks, hangs under its own weight, misses its fastening points, or exposes damaged framing or wiring, stop and get qualified help.
- Identify whether the opening is supply or return before choosing a cover.
- Plan the ladder position and have a helper support the cover if its size or attachment makes overhead handling awkward.
- Dry-fit the replacement with no sealant or forced screws; check all edges and fastener locations.
- Only after identity and opening measurement are settled, select Size and then Color in the Confirmed catalog.
For opening identity, see the supply vs. return guide. This article covers the ceiling-specific access and fit decisions, not the full identification or measuring process.
Before climbing: define the job and the access
A ceiling vent is overhead work. Even a light cover can shift unexpectedly when its last screw comes free, and reaching sideways from a ladder can turn a simple swap into a fall risk. First decide whether the work is just replacing a visible face or whether the opening, boot, damper, duct, or ceiling itself needs repair. A face replacement should not require cutting the ceiling, moving ductwork, changing an electrical device, or altering a fire-rated assembly.
Use a ladder rated for your weight and equipment, set it on a firm level surface, and follow its setup instructions. Clear furniture and floor clutter from the area. Keep your body centered between the rails; climb down and reposition the ladder instead of stretching to reach a screw. If the cover is long, awkward, stuck, or above a stairwell or other difficult landing, a second person or professional may be the sensible choice. Do not stand on a chair, countertop, or improvised platform.
Turn off the HVAC system while removing the cover if airflow could move loose dust or make the work uncomfortable. This is not a substitute for electrical isolation if any wiring or powered equipment is present. Do not reach into an opening with exposed wiring, sharp metal, or unknown components. The replacement task ends at the cover; unfamiliar systems call for the relevant trade professional.
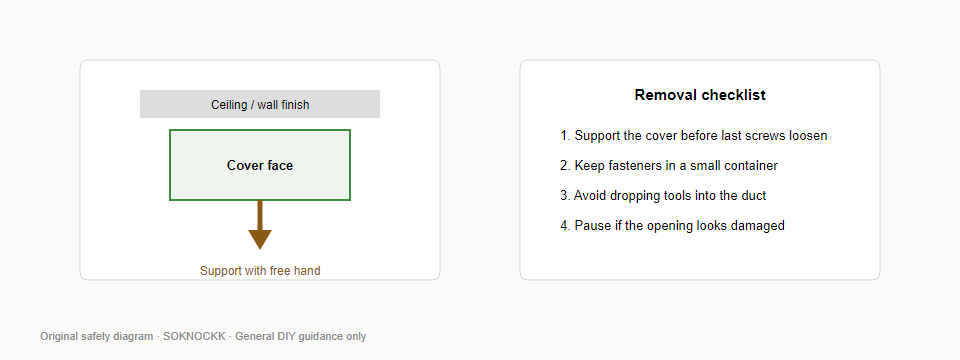
1. Remove the old cover carefully
Look for visible screws, clips, or another obvious retention method before applying force. Keep one hand supporting the cover while loosening the final fastener, or ask a helper to hold it. Some covers have sharp edges or accumulated dust; gloves and eye protection can help, but avoid gloves that reduce your grip. Lower the cover under control rather than letting it drop or hang from one remaining screw.
If paint bridges the perimeter, score only the paint line at the face with care. Do not pry against drywall or ceiling tile with a large lever. A cover that does not release with its visible fasteners removed may have hidden attachment points, paint adhesion, or a different mounting arrangement. Stop to inspect rather than bending the frame or tearing the ceiling surface.
Once down, note how it was attached and keep the old cover and screws until the replacement is verified. Photograph the opening and the old fastener arrangement. This can help distinguish a simple face swap from a frame that is integral to the duct boot. Avoid assuming that a similarly shaped product uses the same screw pattern.
2. Inspect the opening and fastener landing
With the face removed, inspect from the room side without pushing tools or hands deep into the duct. The perimeter should be stable enough for the replacement to rest flat, and each intended fastener needs an appropriate landing. A screw that merely catches crumbling plaster, a loose ceiling edge, or thin unsupported material is not a secure attachment. Do not use a longer screw to search blindly for framing; hidden wiring and services may be present.
Look for water staining, soft or sagging ceiling material, cracked or missing drywall, corrosion, loose framing, a bent boot, or a visible gap between the boot and surrounding construction. Those conditions can indicate a repair beyond the cover. Do not conceal moisture damage with a new face. Resolve the source and repair the substrate first. If the existing cover was attached to a metal boot or frame, preserve that assembly unless a qualified installer determines it needs work.
Opening dimensions and cover dimensions are not interchangeable. A nominal label alone cannot prove that a cover will seat correctly. Identify the opening and measure it using the linked guides, then check the product dimensions and required overlap. This article intentionally leaves those measuring steps to the dedicated opening measurement guide and the nominal versus actual size guide.
| What you see | What it may mean | Decision |
|---|---|---|
| Sound, flat edge; clear, usable screw locations | A face-only replacement may be practical | Proceed to an unforced dry-fit |
| One or more holes stripped or landing material crumbling | Fastener support is not reliable | Do not rely on a screw that only catches damaged material; repair or call a pro |
| Bent boot, loose frame, or gap beyond the face perimeter | The mounting assembly may need correction | Stop before ordering a cover as a workaround |
| Staining, softness, sagging, corrosion, or exposed wiring | Possible moisture, structural, or electrical issue | Pause and arrange the appropriate professional assessment |
3. Dry-fit against gravity
A ceiling test-fit is different from setting a cover on a horizontal bench. Gravity pulls the piece away from the opening while you align it, so plan how you will hold it before lifting it into place. Keep both feet stable, position the ladder so the opening is reachable without leaning, and have a helper manage the cover when its length or weight makes one-person control uncertain. Do not balance the cover on a ladder step or hold it in place with a tool.
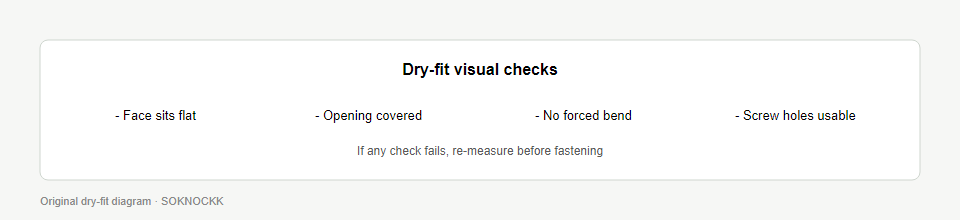
Lift the cover into position and let its frame meet the ceiling gently. Check that the perimeter lies flat, the opening is covered as intended, the face is aligned with the room, and the mounting points line up with sound landing. A proper dry-fit should not require bending the frame, pulling it hard against an uneven ceiling, enlarging the opening, or driving a screw at an angle to make the holes meet. If the cover slips or cannot be controlled, lower it and reassess access rather than forcing the fit.
Start any compatible fasteners by hand and only snug them enough to hold the cover evenly. Follow the product instructions for its mounting method and hardware. Do not overtighten: excessive torque can distort a face, strip the landing, or damage the ceiling. If the edges lift, the face rocks, or the screw heads pull one side inward, remove the load and diagnose the mismatch. Caulk or paint is not a structural fastener and should not be used to hide a poor fit.
4. Choose DIY, repair, or a professional
The key question is not whether the new face looks close to the old one. It is whether the work can be performed safely and the replacement has a stable, compatible place to sit and fasten. Use this table to make the call before buying or climbing.
| Condition | Likely path | Reason |
|---|---|---|
| Stable ladder access, straightforward visible attachment, sound perimeter, and a cover that dry-fits flat | DIY face replacement may be suitable | The task remains limited to the accessible cover and its existing landing |
| Access is possible but awkward, cover is long, or you cannot hold it and fasten safely | Get a helper or hire an installer | Loss of control overhead can damage the ceiling or injure someone |
| Fastener holes are damaged or the ceiling edge needs patching | Repair the substrate before replacement | A new face cannot create a sound fastening surface |
| Boot or duct is loose, opening needs cutting, or dampers/wiring are involved | Call an HVAC or other qualified professional | The work is no longer a simple decorative cover swap |
| Cover will not sit flat, needs force, or mounting locations do not land | Stop and verify compatibility or seek help | Forcing the piece can warp it, strip screws, or damage the ceiling |
Supply and return openings can have different functional needs. A decorative replacement face does not by itself confirm adequate return-air free area, duct performance, or suitability for a particular system. Check the opening’s role first and keep the existing system requirements in view. Use the supply-versus-return guide if that identity is uncertain.

5. What SOKNOCKK products are for
SOKNOCKK’s Confirmed catalog offers decorative linear vent covers organized by opening Size and White or Black Color. The public product family is presented as a modern AC vent cover or linear slot diffuser, with adjustable airfoil blades described for face-level direction and volume control. That catalog scope can help a buyer compare a replacement face after identifying the opening and verifying dimensions.
For example, the photos below show Confirmed 10×4 White and 10×4 Black family options. They illustrate finish and face style; they are not a compatibility test for your ceiling. The right sequence remains: establish opening identity, measure the opening and check the frame/fastener fit, then choose Size and then Color in the listing. The size FAQ and nominal-size resource cover those separate questions.
| Catalog evidence | Useful for | Does not establish |
|---|---|---|
| Confirmed Size and White/Black Color options | Choosing an available decorative face after the opening is verified | That the option fits an unmeasured hole or existing screw pattern |
| Product photos and listed face details | Reviewing appearance and visible construction | Hidden frame dimensions or every jobsite condition |
| Adjustable airfoil blades described in the listing | Face-level direction and volume adjustment as specified for the product | Published CFM, throw, free area, or engineered performance data for every SKU |

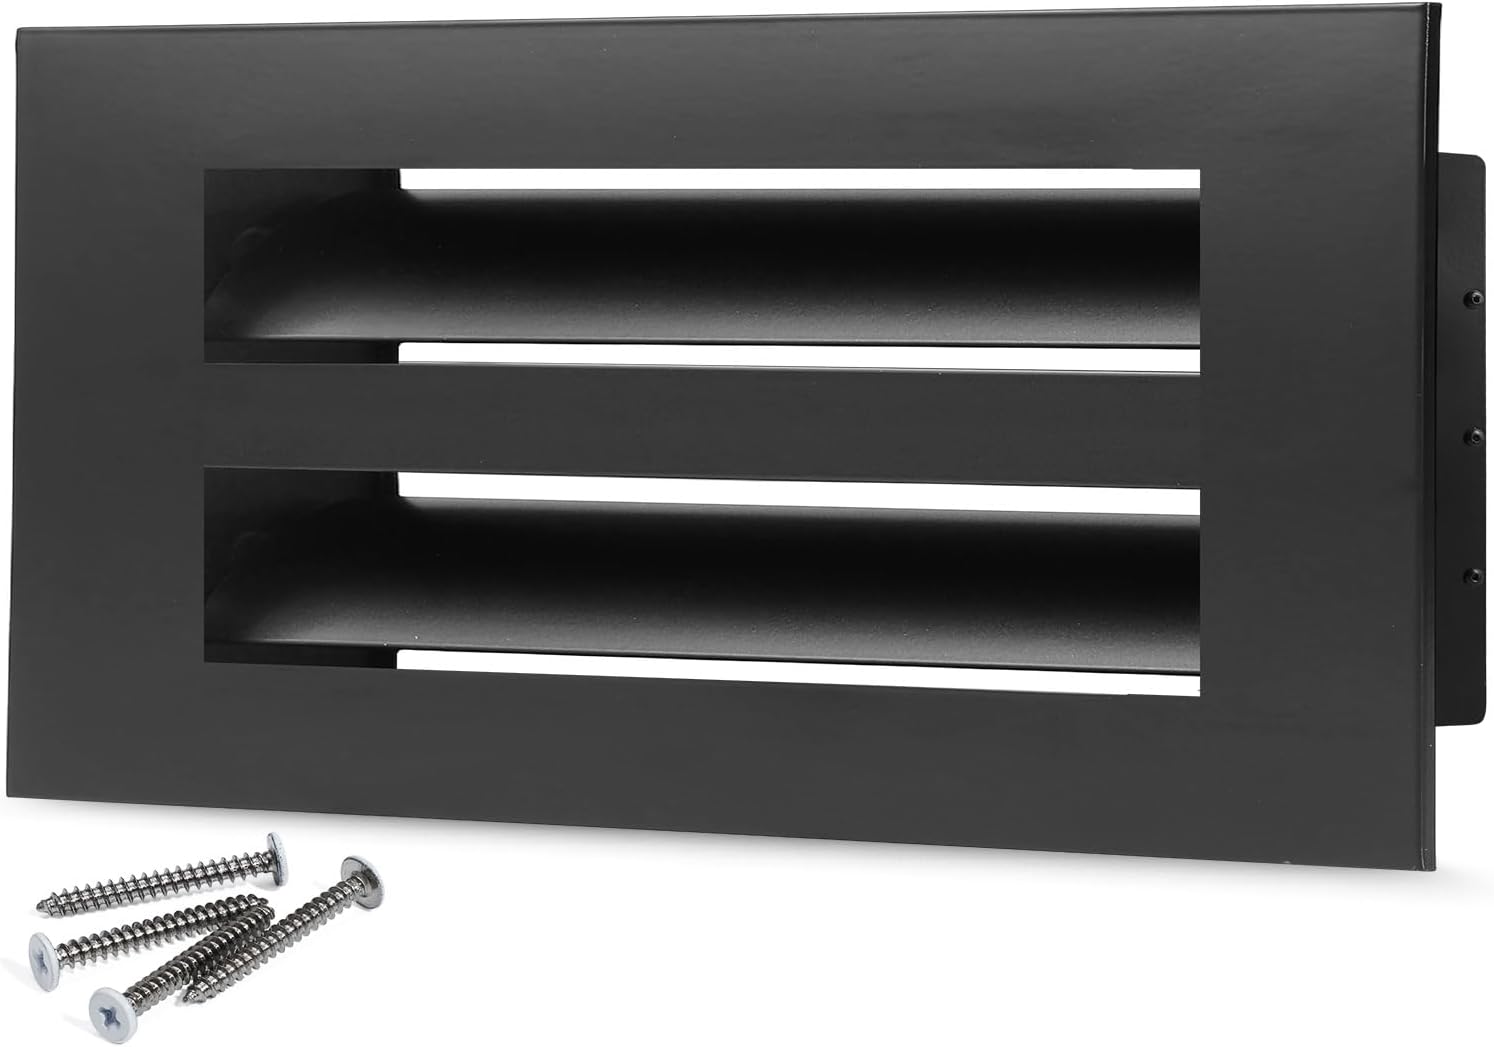
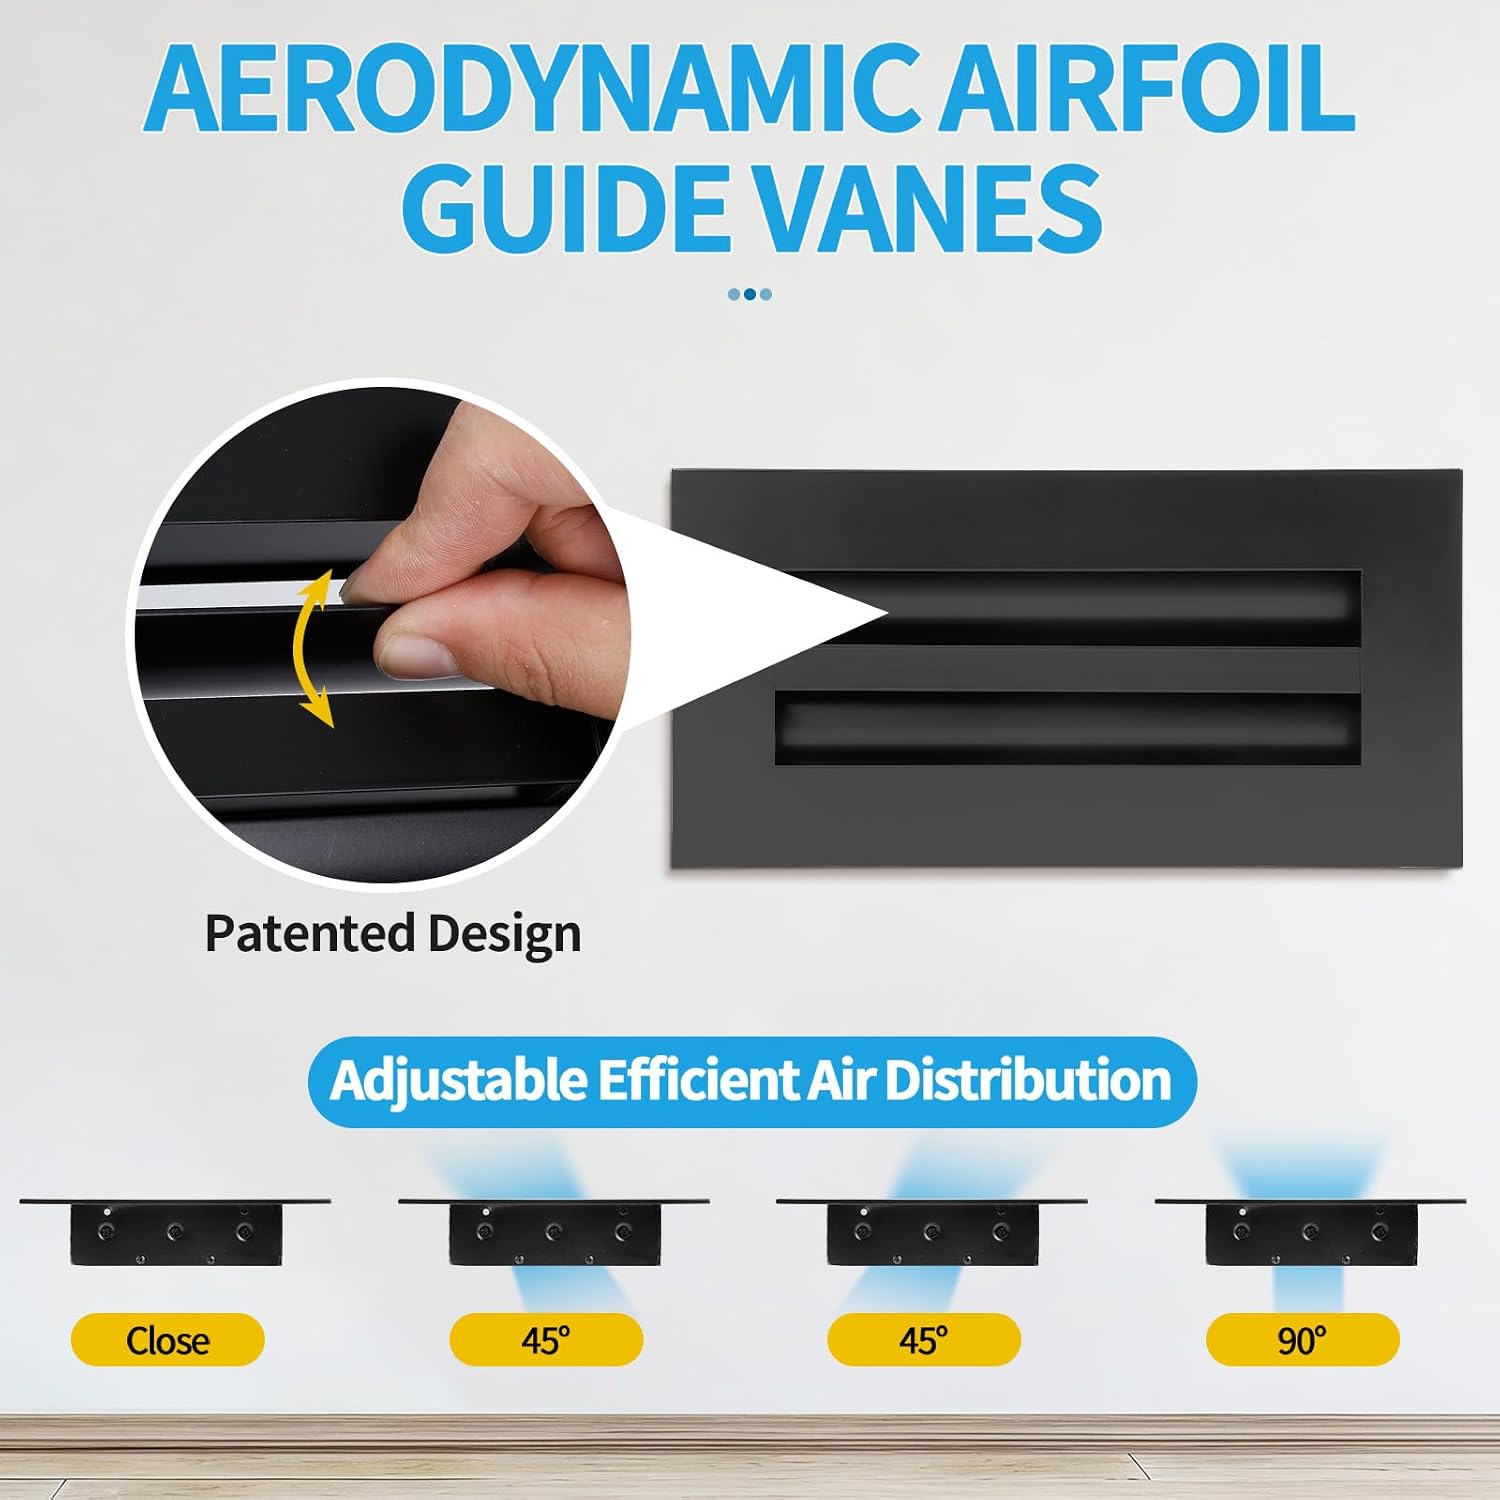
See the linear slot cover collection and modern AC vent cover listing for current catalog options. Do not infer stock, delivery timing, or technical performance from a photo or family label. If the existing assembly is a register or engineered diffuser with a specific system role, confirm requirements with the installer or system documentation before substituting a decorative face.
Common mistakes to avoid
- Climbing before planning the lift. Determine how you will support the cover and reach every fastener without leaning.
- Letting the last screw carry the cover. Support the face before releasing its final attachment.
- Forcing a dry-fit. A cover that needs bending, angled screws, or pressure is signaling a mismatch or damaged landing.
- Trusting the nominal size alone. Verify the actual opening and product fit using the measurement resources.
- Driving into weak material. A screw that spins or pulls out does not provide dependable retention.
- Covering up moisture or ceiling damage. Find and address the cause before installing a new finish face.
- Assuming appearance proves function. A linear face does not establish return-air capacity or engineered airflow performance.
- Choosing Color before Size. Resolve opening identity and dimensions first; in the Confirmed listing choose Size, then Color.
Buyer checklist
- I know whether the opening is supply or return, or have paused to identify it.
- I have read the opening measurement and nominal-versus-actual resources and checked the listing dimensions.
- I can place a stable ladder correctly and reach all fasteners without stretching.
- I have a plan to support the old cover during removal and the new cover during its test-fit.
- The ceiling perimeter, existing frame, and intended fastener landing appear sound.
- The replacement sits flat without bending, force, or improvised mounting.
- The fasteners align with appropriate landing and can be snugged without stripping or crushing the finish.
- I selected the catalog Size first and Color second after fit was established.
- I will stop if I find moisture, loose ductwork, exposed wiring, damaged framing, or a need to cut or modify the opening.
FAQ
Can I replace a ceiling vent cover by myself?
Sometimes. It is a reasonable DIY face swap when access is stable, removal is straightforward, the ceiling and fastener landing are sound, and the replacement dry-fits without force. Use a helper or call a professional if overhead handling is awkward or the work extends beyond the face.
How do I keep the cover from falling when I remove it?
Support it before loosening the final fastener. For a large or awkward face, have a helper hold it while you work from a stable ladder. Do not leave it hanging from one screw or try to catch it after it drops.
What if the new cover does not line up with the old screw holes?
Do not pull it into place with angled or oversized screws. Recheck the product fit and mounting arrangement. If the cover cannot sit flat and reach sound landing, pause and choose a compatible option or have the opening assessed.
Do I need to identify supply versus return before ordering?
Yes. Opening role affects what the system needs from that location. A decorative face does not prove suitability for every supply or return application. Use the identity guide before selecting a cover.
When should I call an HVAC professional?
Call when the boot or duct is loose, the opening needs cutting or reconstruction, a damper or wiring is involved, the fastener landing is damaged, or you cannot safely reach and support the cover. Also pause if moisture or structural damage is visible.
Does a Confirmed Size+Color option guarantee it will fit my ceiling?
No. Confirmed describes a catalog option, not a field measurement or approval of your mounting conditions. Identify and measure the opening, check the product dimensions and fastening arrangement, then choose Size and Color in that order.
Where can I find the general replacement steps and sizing details?
Use the general vent-cover replacement guide for the broader process, and the opening measurement guide plus size FAQ for sizing. This page focuses on ceiling access, gravity, and fastening decisions.