SOKNOCKK FAQ
Do I keep the existing damper when I replace only the vent cover face?
A face-only replacement usually starts with identifying what the existing behind-the-grille part does.
Quick answer
Usually, leave the existing behind-the-grille damper in place unless your HVAC installer confirms that it is damaged, incompatible, or being replaced as part of a larger duct or balancing job. A new SOKNOCKK linear vent cover face is described in the listing as a decorative face with adjustable blades; the checked listing does not state that a separate system damper is included. Keep the existing damper while you verify the opening, the mounting arrangement, and the role of that component.
Do not assume that every home has the same damper setup, and do not remove a part simply because the new face has adjustable blades. If you cannot identify the component, ask the installer before ordering or fastening the replacement.
Why the face and damper are different parts
The visible face controls the finished appearance and lets you aim air through its adjustable blades. Those blades can change direction and user preference for volume, but they are not an airtight shutoff and are not a substitute for an HVAC balancing damper. A behind-the-grille damper may be part of the duct assembly, a balancing device, or another site-specific arrangement. Its location and purpose cannot be confirmed from the face alone.
Replacing only the face is therefore a coordination question. The new cover must fit the measured opening and attach in the available way while the existing air-control component remains safe and accessible. If the old assembly has a lever, linkage, loose frame, or unusual depth, photograph it before removal and send those details to the installer or seller.
Checks to make before you order
- Confirm the opening. Measure the duct or wall opening width and height, not only the outside trim of the old cover. Compare those measurements with the selected catalog Size. Adjustable blades do not change the required opening size.
- Identify the air path. Note whether the opening is a supply or return location and whether the damper is visible immediately behind the face. If the part has a control lever or linkage, do not bend, block, or disconnect it during the face swap.
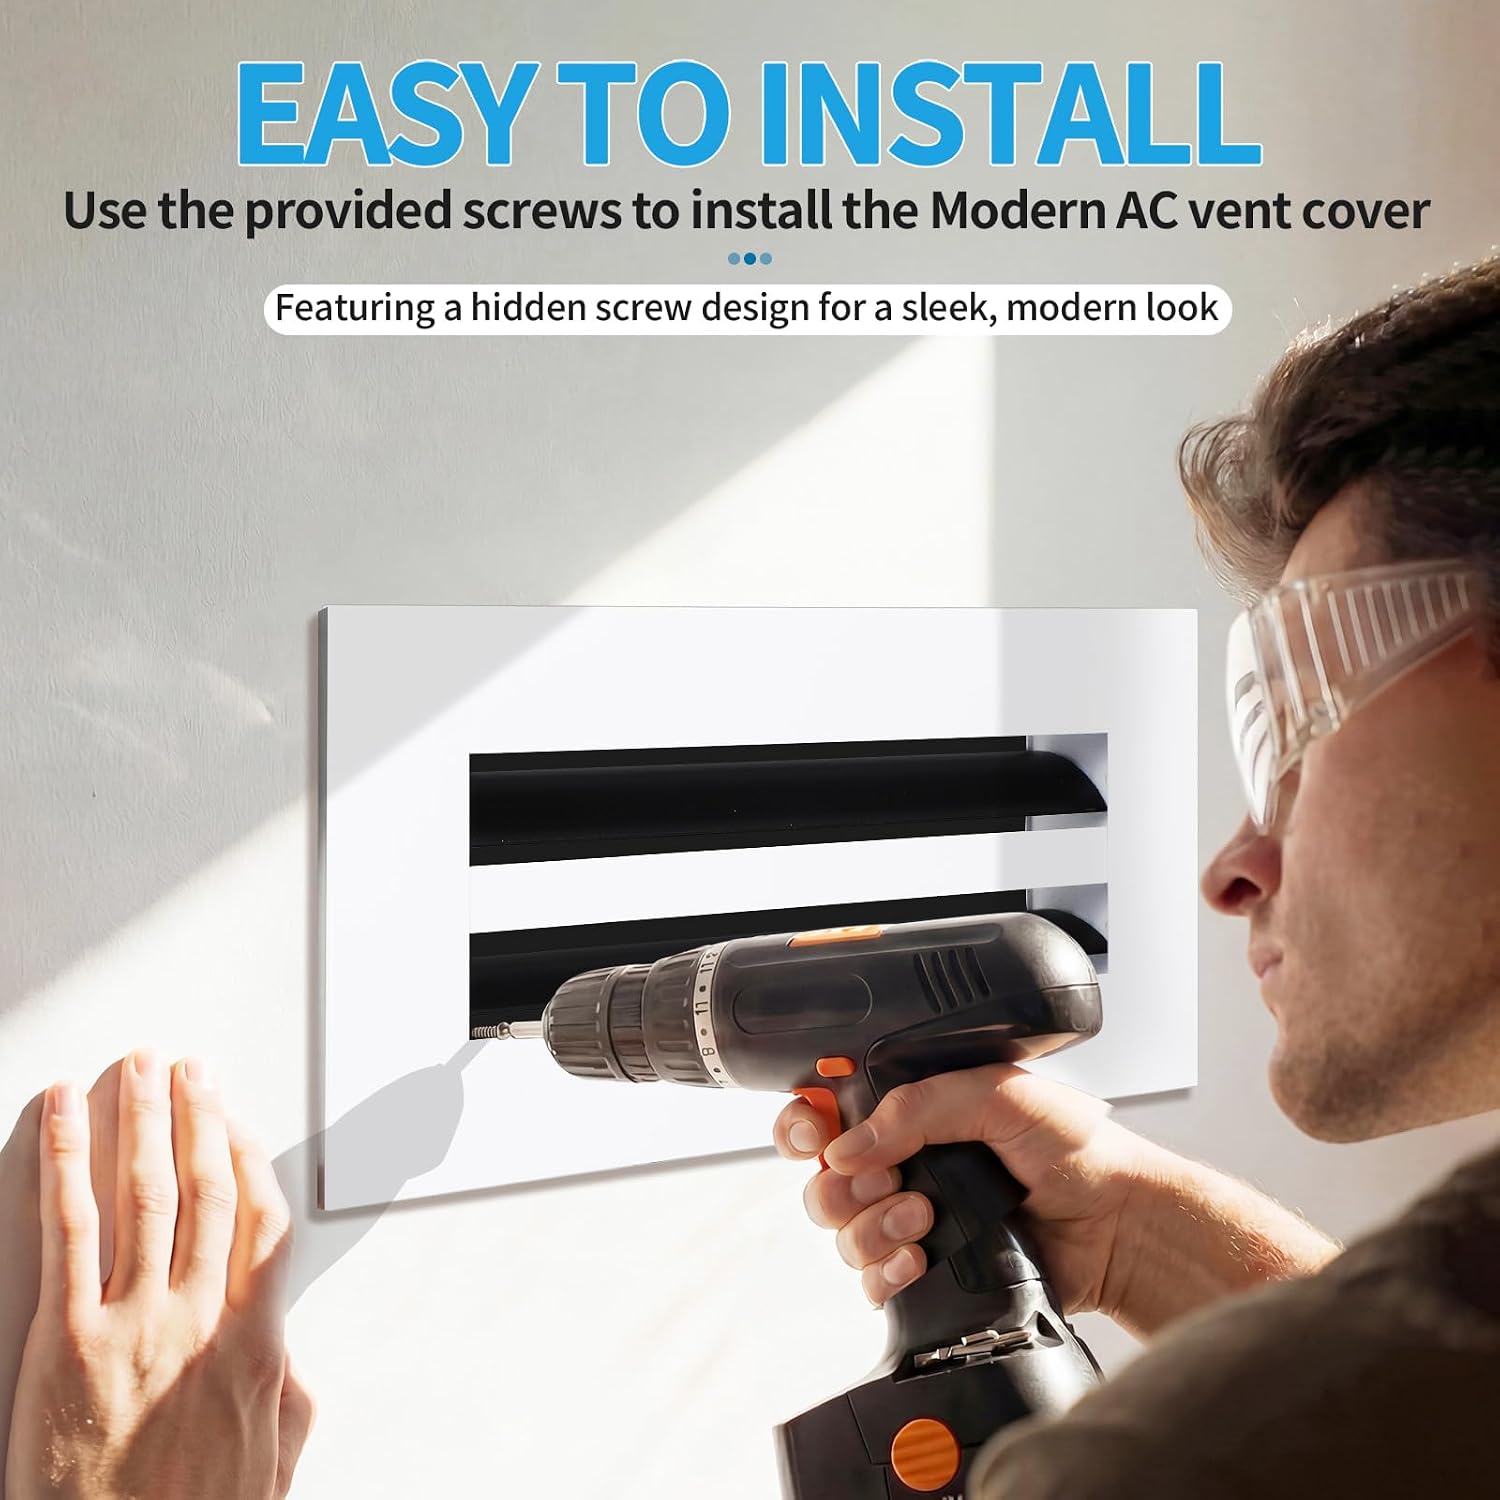
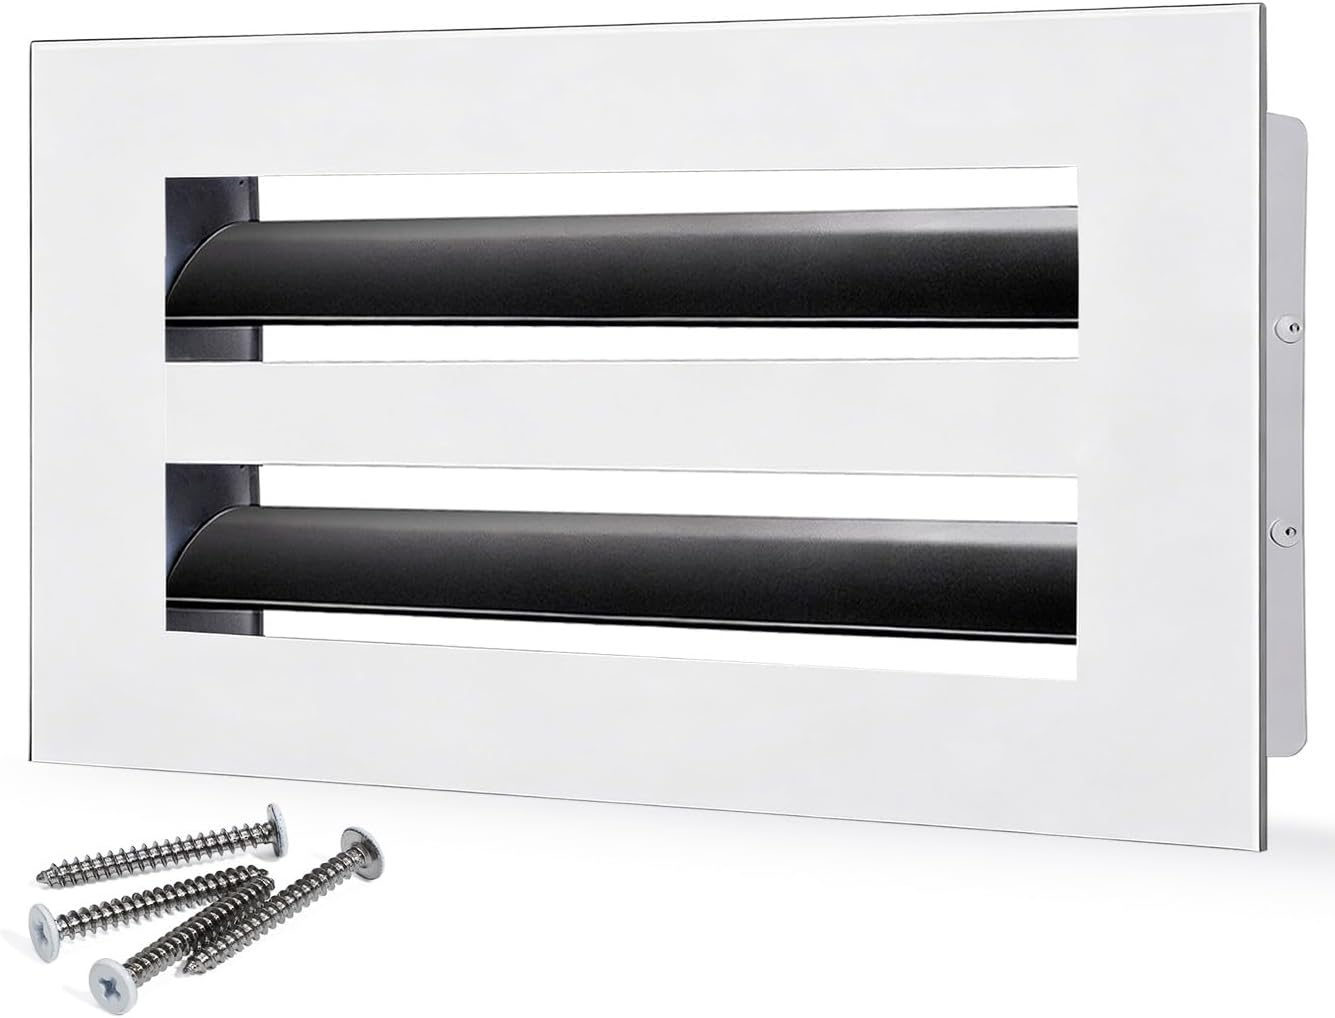
- Check the mounting space. SOKNOCKK listings describe a concealed screw mount and included mounting screws in listing language. Verify that the replacement face can sit over the opening without striking the existing damper or its control hardware.
- Ask when the answer is unclear. A local installer can determine whether the damper must remain, be adjusted, or be serviced. For a lever or linkage question, use the damper-lever check before ordering a new face.
What the replacement face does and does not include
The checked product information describes an aluminum alloy linear face with a powder-coated finish and adjustable airfoil blades. It does not document a separate independent damper SKU or promise that a behind-the-face damper is supplied with every order. Treat the face and the HVAC control component as separate items unless your exact listing or installer confirms otherwise.
For fit planning, review how to measure your vent opening and how to choose the right vent cover size. If your opening is a return, compare the guidance in supply vent vs. return vent before changing the assembly.
A simple face-only replacement sequence
Turn the system off, remove the old face carefully, and keep its screws and any damper lever undisturbed. Dry-fit the new face over the opening. Check that the frame sits flat, the blades move freely, and the damper or linkage behind it is not obstructed. If the face does not sit correctly, stop and verify the actual opening and mounting conditions rather than forcing the screws. The vent-cover replacement guide and dry-fit checklist cover those installation checks.
When to pause and call the installer
Pause if the damper is stuck, the lever no longer moves, the old face is attached to the damper assembly, the opening is irregular, or the replacement would reduce access to a control. Also pause if you are unsure whether the opening is supply or return. A face replacement should preserve the intended HVAC control arrangement; only the person responsible for that system can approve a change to it.
In short, keep the existing damper provisionally, verify what it is and how the new face fits around it, then let the installer decide whether adjustment or replacement is needed. This keeps the purchase focused on the correct Size and Color while avoiding an unsupported assumption about equipment hidden behind the grille.
Keeping or removing an existing damper is never an unconditional recommendation. Only retain or remove it after the installer confirms compatibility, access, and the intended balancing function for that opening.