When Replacement Vent Cover Screw Holes Do Not Line Up
Your new linear vent cover may match the labeled opening size yet miss the screw holes left by the old face. That does not automatically mean the new cover is the wrong size. Hole spacing, frame shape, mounting surface, and the position of the duct boot are separate fit questions. Work through them before you force a screw, drill a new hole, or buy a second cover.
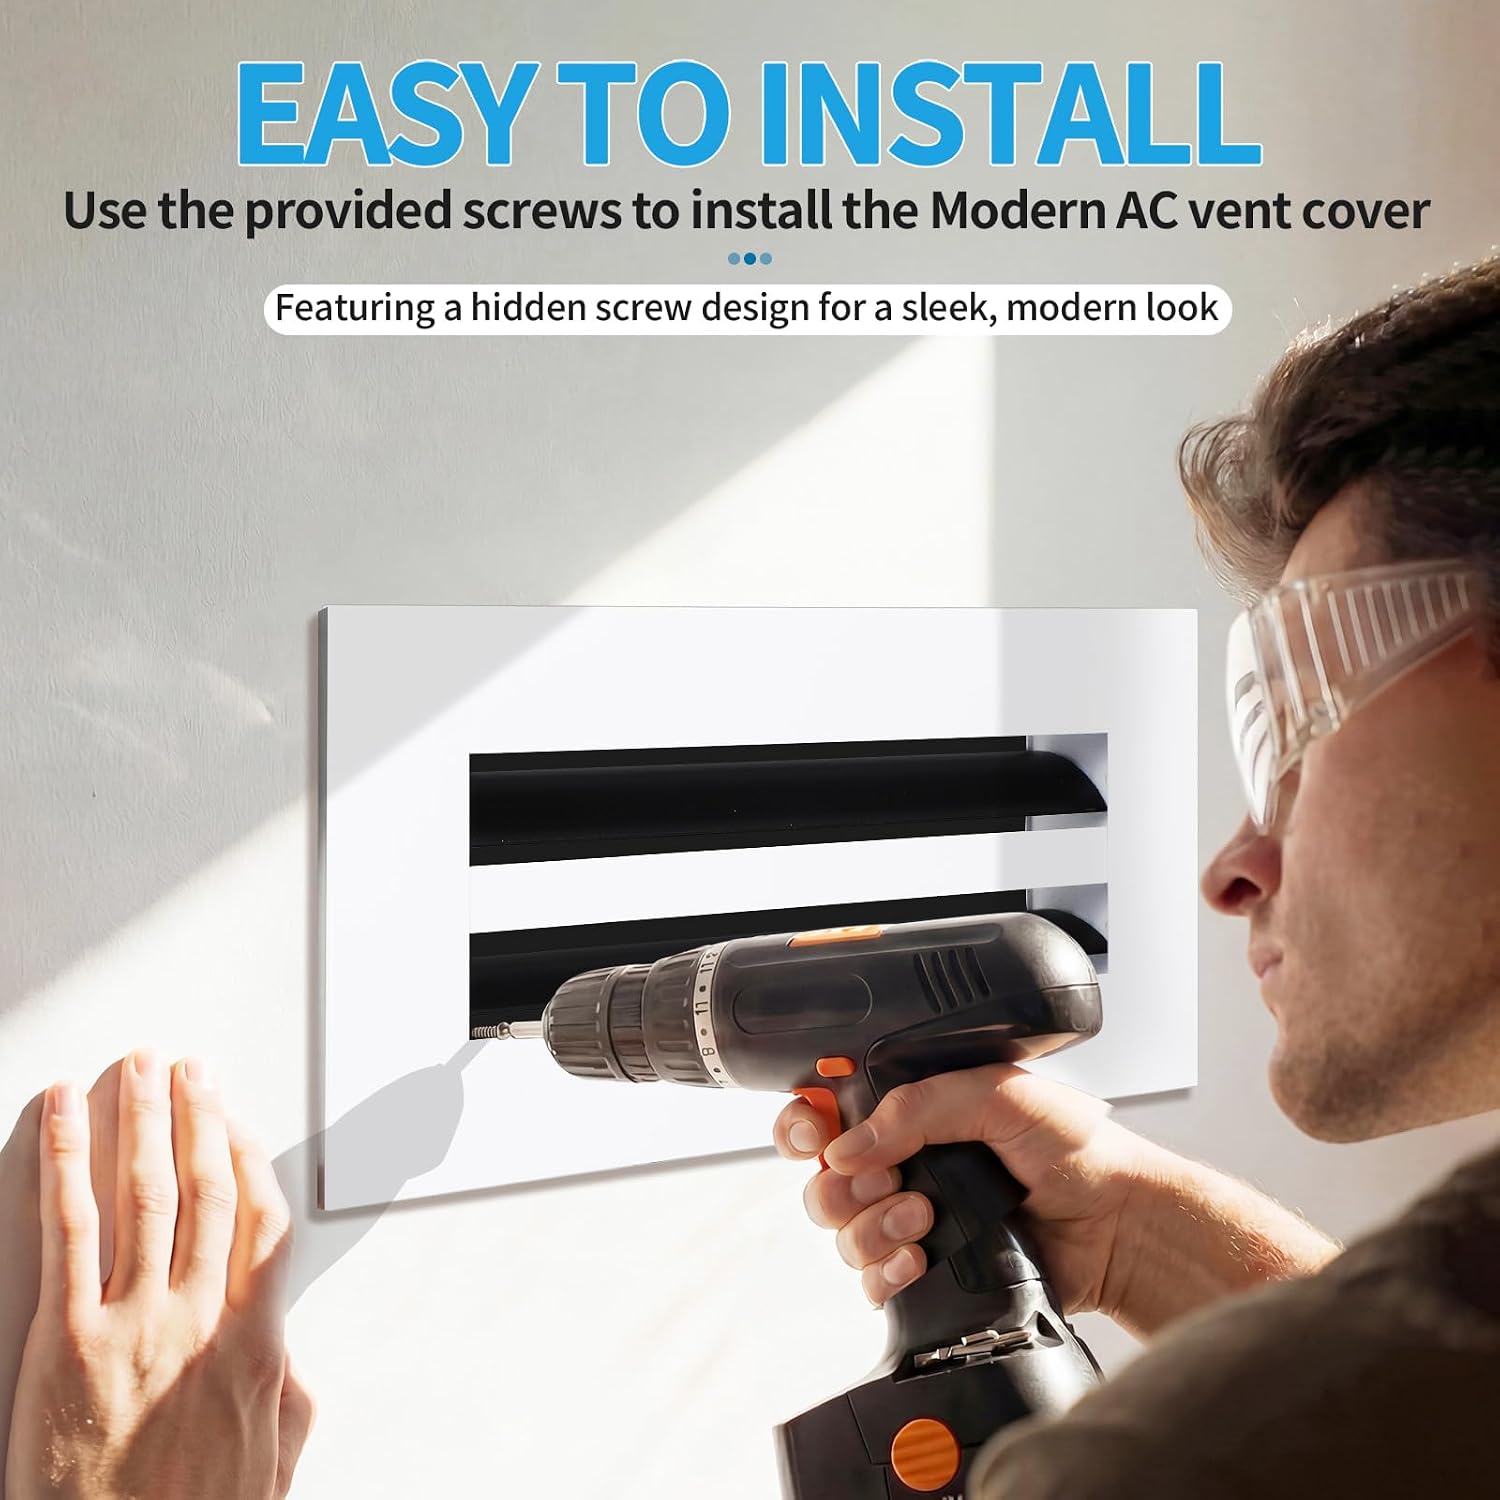
Quick answer
Stop when the holes miss. Hold the cover flat over the opening without screws. If the opening and frame fit, compare the center-to-center spacing and position of both sets of holes. Then identify what each screw would enter: solid framing, a mounting tab, a thin metal boot, damaged drywall, or empty space. An opening-size match alone does not guarantee a matching screw pattern.
- If the cover cannot sit flat or its neck interferes with the boot, revisit the opening and product dimensions before choosing hardware.
- If it sits flat but the holes differ, ask whether the mounting instructions allow a new fastening location or an appropriate adapter. Do not assume the old holes must be reused.
- If a screw would enter wiring, a hidden component, crumbling material, or an unsupported edge, stop and have a qualified installer assess the opening.
Keep the old cover and its screws until the replacement is securely mounted. For a full opening measurement walkthrough, use the vent opening guide.
For a printable field worksheet that records old and new hole spacing before you order, use the Screw Hole Alignment Check Before Ordering. The guide below explains the inspection decisions; the worksheet is the place to capture measurements.
Why a correctly sized cover can have different screw holes
Vent cover size usually describes the opening the cover is meant to serve, while the visible face extends beyond it. The old and new faces can therefore share a nominal size yet use different face widths, end margins, hole spacing, or mounting methods. An older grille may fasten into tabs on a metal boot; a newer decorative face may place its screws nearer the wall or ceiling finish. Neither pattern is a universal standard for every manufacturer and installation.
The old installation may also conceal a site condition. A screw may have been angled into framing, driven into a repaired patch, or moved from an earlier location. Paint can make the old face appear centered even when the duct boot is offset. Once the old cover is removed, its holes describe where that cover was attached, not necessarily the true centerline of the duct opening.
Separate three measurements before deciding what to buy: the clear opening, the outer face dimensions needed to cover the finished edge, and the screw-hole center spacing and location. Measure the hole centers from the same reference edge on both covers. A matching distance between two holes is insufficient if the entire pair sits too high, low, or sideways relative to the opening. The nominal versus actual size guide explains why a size label alone cannot settle the fit.
Five checks before you pick up the screwdriver
1. Make the opening safe to inspect
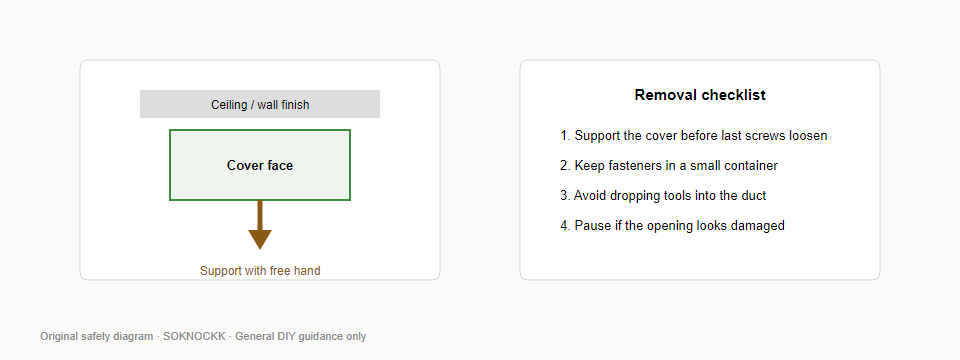
Turn the HVAC system off while handling the face so it does not move or blow dust into your work area. Support a ceiling cover as its last screw comes out, and use a stable ladder. If paint seals the perimeter, score the paint line carefully before easing the old face away. Avoid pulling on the duct boot or using the new cover as a pry bar. Keep hands clear of sharp sheet-metal edges.
2. Confirm the cover fits independently of the screw holes
Center the new cover over the clear opening and hold it against the finished surface without fastening it. Check that the face hides the cut edge, its frame lies flat, and any portion that enters the opening clears the boot. Check that adjustable parts can move without scraping. A cover that rocks or must be bent into position has a fit problem that a tighter screw will not solve. For the broader replacement sequence, see replacing a vent cover.
3. Record both hole patterns
Photograph the opening straight on with a ruler in view. Measure center to center between the old holes, then measure the new cover’s hole centers. Note each hole’s distance from the nearest edge of the clear opening. Mark whether the pattern misses evenly on both sides or only at one end. An even difference points toward a different face pattern; a one-sided miss may mean the old cover or the boot was off center. Do not enlarge the new cover’s holes to make a tilted screw appear to fit.
4. Identify the material behind each proposed hole
Look for a sound mounting tab, framing, or another substrate permitted by the cover’s installation instructions. A hole in paint or drywall paper does not prove there is adequate support behind it. Thin metal, a damaged tab, an enlarged old hole, and an unsupported cut edge call for different fastening decisions. Check screw length as well as position: a long screw can reach beyond the intended mounting material. If you cannot see what a new hole would enter, seek installation advice before drilling.
5. Check the wall or ceiling condition
A warped wall surface, uneven plaster, proud boot flange, or ceiling patch can keep a correctly sized face from sitting square. Tightening one screw first may pull the face toward that side and make the opposite hole appear farther out. Confirm the face sits centered and flat by hand, then reassess alignment. For ceiling-specific access and support questions, use the ceiling linear cover guide.
What the mismatch tells you
| What you see | Likely question to resolve | Next check | Avoid |
|---|---|---|---|
| Both new holes miss the old holes by a similar amount | Does this face use a different screw spacing? | Compare center-to-center spacing and the mounting instructions for the exact size. | Angling screws toward old holes. |
| One hole aligns but the other misses | Is the face or old pattern off center? | Recenter the face over the clear opening; measure from each opening edge. | Fastening one end and bending the other. |
| Hole spacing matches, but the pair is shifted | Was the old cover positioned to hide an offset boot or rough cut? | Check face overlap and whether the new position leaves a finished edge exposed. | Assuming spacing proves full compatibility. |
| The new hole lands over an enlarged or loose old hole | Is there sound material for a secure fastener? | Identify the substrate and the repair method appropriate to it. | Using a longer screw without knowing what is behind the surface. |
| Holes appear close, but the face rocks or the neck catches | Does the cover actually fit the opening and boot? | Recheck clear opening, insertion depth, frame clearance, and wall flatness. | Pulling the face flat with screw torque. |
| A proposed new hole would be outside visible backing | Is there a safe attachment point or suitable adapter? | Consult the product instructions or a qualified installer. | Drilling into an unknown cavity. |
Decide whether to install, adapt, exchange, or get help
Install only when the whole fit works. The face should sit flat, cover the finished opening, leave moving parts clear, and have a secure fastening point for each required screw. Follow the instructions for the exact cover and substrate. Start screws straight by hand and tighten only enough to secure the face without distorting it.
Consider an adapter or mounting repair when the opening fit is good but the attachment point is wrong. The appropriate solution depends on what the existing boot and wall provide. A suitable mounting tab or manufacturer-approved adapter may solve a pattern mismatch; a damaged substrate may require repair first. Confirm that any added part leaves the opening and adjustable components unobstructed. Do not treat a generic adapter as universally compatible.
Exchange or reorder when the physical fit is wrong. If the neck will not enter the opening, the frame cannot sit flat, or the face will not cover the cut edge, a different size or construction may be needed. Record opening width and height, outer-face space, insertion clearance, hole pattern, and mounting surface before contacting the seller. Choose Size, then Color in the listing and verify the exact combination’s stated dimensions and mounting details. Do not order solely by the dimensions stamped on the old face.
Bring in a professional when the attachment is uncertain. This is especially sensible for a ceiling opening with damaged support, a loose or displaced boot, possible wiring near a proposed hole, or an opening whose function is unclear. If you are unsure whether it is supply or return, use the supply versus return guide before selecting a replacement face.
Check the exact product path before ordering again
SOKNOCKK’s modern AC vent cover listing is the product path for checking the chosen Size+Color combination. The photos below document 10×4 White only. They help identify the visual family and show a mounting view, but they do not establish the hole spacing, included fasteners, or fit of another size. Confirm those details in the listing or with the seller for your selected combination.
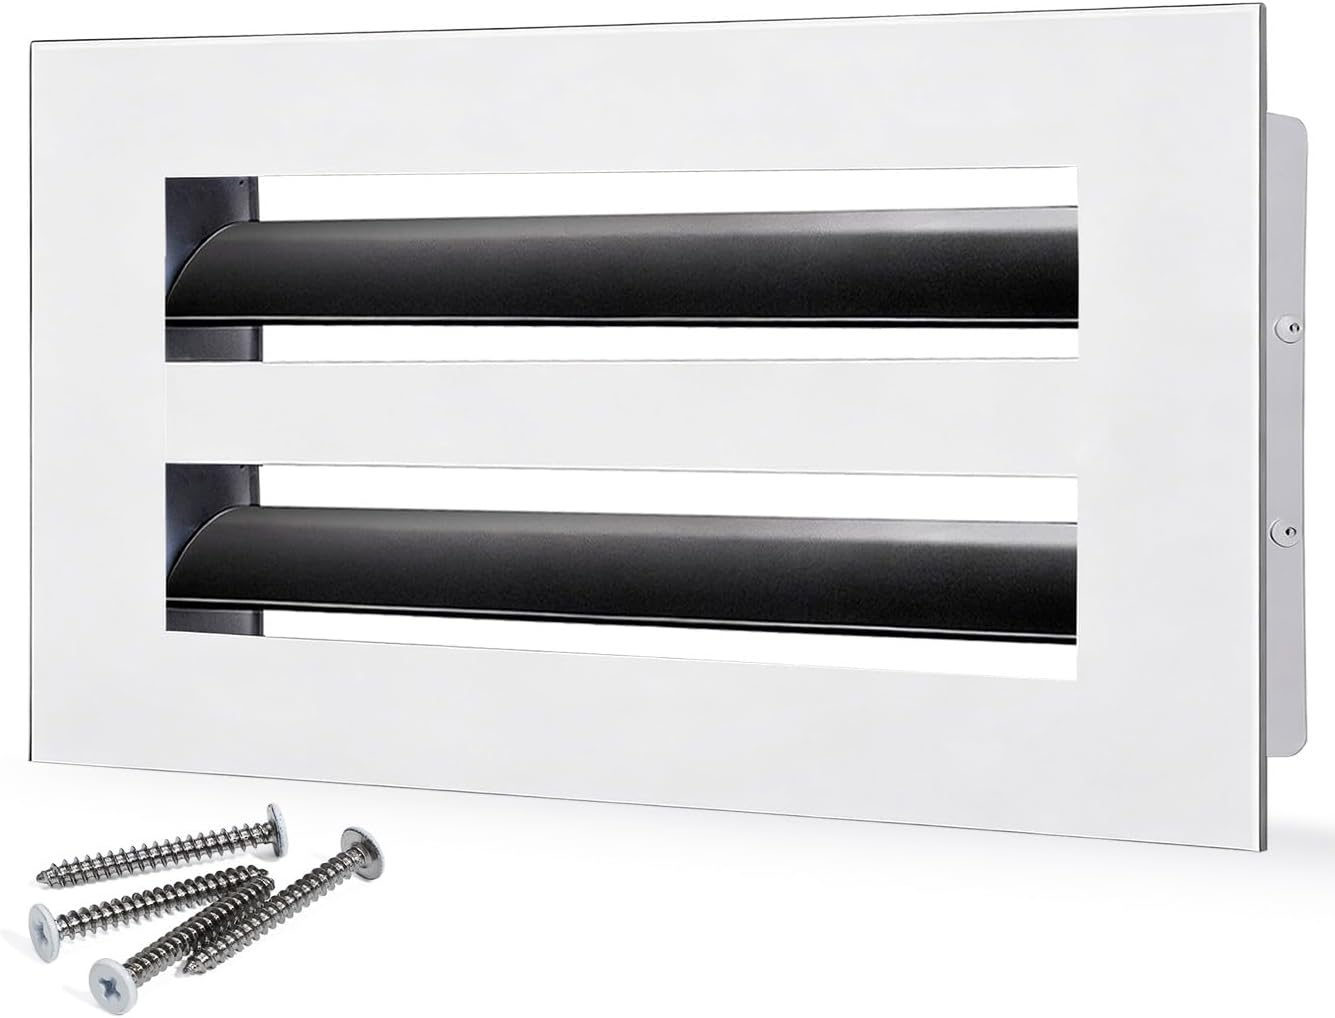
If the listing does not state the exact screw pattern or whether screws are included, ask before ordering. An installation photo can show where a cover is mounted without proving what hardware comes in the box. Browse the vent cover catalog for the available product path, then verify the selected size and color in the individual listing.
Buyer checklist: take these notes before a second order
- Photograph the uncovered opening straight on, with a ruler and the old cover beside it.
- Record clear opening width and height separately from the old face’s outside width and height.
- Measure old and new hole centers, including their distance from the opening edges.
- Identify where each old screw entered and whether that material is still sound.
- Hold the new face flat and centered; note rocking, exposed edges, and insertion interference.
- Check whether adjustable components have room to move.
- Read the mounting instructions and verify any proposed new hole location before drilling.
- Choose Size, then Color; confirm dimensions, mounting pattern, and fastener inclusion for that exact listing combination.
- Keep the old face and screws until the replacement is secure and the system has been checked in use.
For a focused way to record the hole pattern before purchasing, use the installation basics alongside the opening measurements. If the listing’s mounting information is incomplete, send the seller your measurements and straight-on photos rather than guessing from a face image.
FAQ
Does a 10×4 label mean the old and new screw holes should match?
No. The label refers to the nominal opening size convention, not a universal screw-hole template. Compare the actual face, insertion dimensions, and mounting pattern for the specific cover.
Can I drive the screws at an angle to catch the old holes?
Do not use an angled screw to pull a misaligned face into place. It can strip the mounting point, distort the cover, or hide an opening-fit problem. Recenter the face and identify a permitted, sound attachment point first.
Can I drill new holes in the wall or ceiling?
Sometimes a new fastening location is possible, but first verify the product instructions, substrate, screw length, and what lies behind the surface. If the backing is unknown, the boot is loose, or the edge is damaged, ask a qualified installer to assess it.
Should I fill the old holes?
Old holes that remain visible may need a finish repair appropriate to the wall or ceiling material. Holes used for mounting need a structural answer, not merely cosmetic filler. Determine the new cover’s secure mounting plan before patching anything the installer may need to inspect.
Will longer screws fix a loose old hole?
Length alone does not establish a sound attachment and may reach an unintended area. Identify the material and use an appropriate repair or fastening method for it. Stop if you cannot determine what the screw would enter.
Do the pictured 10×4 White covers prove that another size has the same holes?
No. The pictured Size+Color is 10×4 White. Confirm the dimensions and mounting details of the exact size and color you intend to purchase in the product listing.