SOKNOCKK buyer guide · Fit and handling
Wall vs Ceiling Vent Cover Placement: What Changes for Fit and Handling
A cover that looks right on a wall is not automatically ready for overhead installation. The opening still sets the size, but placement changes how you inspect the mounting surface, support the cover, check nearby obstacles, and reach it later.
This guide compares replacement covers at existing openings. Moving an outlet from wall to ceiling changes the duct layout and air distribution and needs a separate HVAC assessment.
Quick answer
Yes—wall vs ceiling vent cover placement changes handling and mounting checks, while the basic sizing method stays the same. Measure the opening, confirm the cover’s actual dimensions and depth, and verify that its mounting method is suitable for the intended orientation. A wall installation needs secure retention against slipping or pulling away; a ceiling installation needs secure overhead retention and controlled support during fitting and removal.
Neither location proves that a cover suits a supply, return, or filter-access opening. Establish the opening’s function before choosing a replacement. Choose Size, then Color after fit and mounting suitability are established.
Wall vs ceiling vent cover placement: the practical comparison
Start with the existing location rather than deciding that one orientation is universally better. Both can work when the outlet, cover, mounting method, and surrounding construction are compatible. The useful comparison is what each position asks you to verify before ordering.
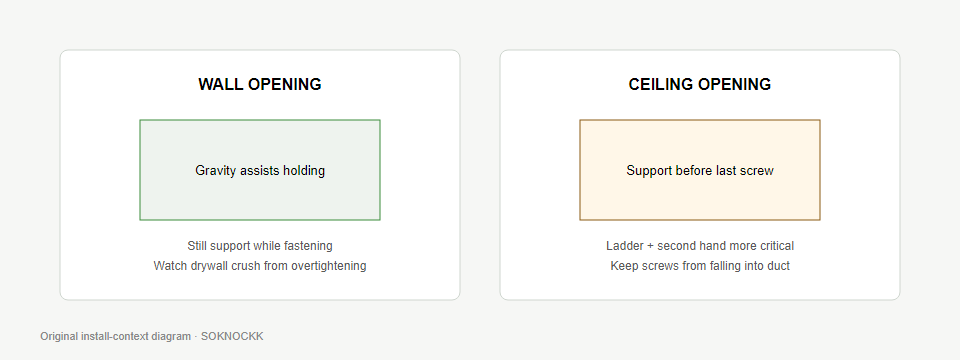
| Decision | Wall opening | Ceiling opening |
|---|---|---|
| Sizing | Measure the opening and confirm outside coverage, insertion dimensions, and depth. | Use the same measurements; overhead placement does not change nominal size. |
| Retention | Confirm resistance to downward slip and separation from the wall. | Confirm the specified mounting method provides secure overhead retention. |
| Surface condition | Check texture, paint ridges, trim, and damaged mounting points. | Check ceiling texture, uneven patches, damaged edges, and mounting support. |
| Handling | Support the face while aligning it; a high wall opening can still require access equipment. | Plan continuous support during positioning, fastening, and removal. |
| Nearby obstacles | Check furniture, curtains, doors, and projecting trim. | Check fixtures, soffits, corners, and space for hands and tools. |
| Visual judgment | Assess alignment with nearby trim and the view from normal seating positions. | Assess long sightlines, ceiling joints, and shadows around the perimeter. |
| Future maintenance | Keep removal and adjustment accessible after furniture is replaced. | Keep a practical access route for cleaning, adjustment, and removal. |
A matching face size is only one check. A cover must also seat correctly and attach using a suitable method. Paint, caulk, or a tight-looking edge does not establish that it is securely retained.
The fit checks that stay the same
Identify the opening before comparing covers
A wall opening can supply conditioned air or draw return air, and so can a ceiling opening. Location alone does not identify its function. Use the supply versus return guide if that distinction is unclear.
Also record whether the existing assembly provides filter access, a damper, or another service function. A decorative replacement must not remove required access or substitute an unverified airflow restriction. If the existing component is part of a specialized assembly, establish compatibility before choosing a new face.
Separate opening size from visible coverage
Record the opening’s two dimensions with their orientation: for example, which dimension runs horizontally along a wall. Then compare the candidate cover’s insertion dimensions, outside dimensions, and required depth. The visible border of the old cover may be larger than the opening it conceals.
The opening measurement guide explains the measuring process, while nominal versus actual sizing helps interpret listing dimensions. A nominal size label does not guarantee identical outside coverage or screw spacing across different covers.
Check seating and internal clearance separately
The perimeter should meet the finished surface evenly without forcing the frame into shape. Behind it, the cover must clear the duct boot, existing hardware, and any moving components. A face can appear flush while something behind it prevents proper seating or adjustment.
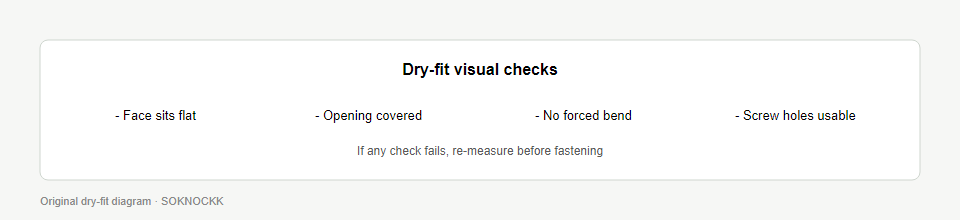
A dry fit helps reveal interference, but it does not prove mounting strength. If the cover rocks, sits proud, or needs pressure to align, investigate the cause before fastening. Use the installation basics for the broader fitting process.
What wall placement changes
Look for slip, projection, and everyday contact
On a wall, gravity tends to move an unsecured cover downward. The specified attachments must retain it against that movement and against pulling away from the surface. An edge resting on trim or catching inside an opening is not a substitute for the required mounting method.
Check how far the finished face projects. At a low opening, a chair back, cabinet, or door may strike it. At a higher opening, curtains or nearby shelving can interfere with airflow, adjustment, or removal. Inspect the whole perimeter rather than only the space directly in front of the slots.
Check the wall in its normal room arrangement
Temporarily moving furniture may make installation possible while hiding a future access problem. Before ordering, consider where that furniture will return. You should be able to reach the fasteners and remove the cover without bending its frame or scraping adjacent finishes.
Wall placement also puts alignment close to familiar reference lines. Compare the cover with nearby casing, baseboards, or cabinetry, then confirm that the measured opening allows the intended position. Do not shift the cover so far for appearance that it loses necessary coverage or mounting alignment.
What ceiling placement changes
Confirm overhead suitability before ordering
For a ceiling opening, confirm that the selected cover and attachment method are intended for overhead use. Product photographs and a matching size label do not answer that question. Request the mounting instructions and any details needed to assess the supporting material.
Old screw locations also need inspection. A hole in damaged material does not become reliable because the replacement screw passes through it. The correct attachment depends on the cover instructions and the construction at the opening; do not choose a screw length or anchor type from appearance alone.
Plan support throughout the handling sequence
A ceiling cover needs controlled support as it is offered to the opening and while attachments are started. A long face can be awkward to align even when it seems easy to lift at floor level. Plan enough assistance to avoid balancing the cover while reaching for tools.
That handling plan matters again during removal. Establish how the face will be supported before releasing its final attachment. For access equipment, work position, and removal precautions, follow the dedicated ceiling replacement and safety guide.
Inspect the perimeter from more than one view
Ceiling texture or a repair ridge can hold one corner away from the surface. Looking straight upward may hide the resulting gap; a side view can reveal it. If the frame needs fastening pressure to appear flat, stop and identify the obstruction rather than using the attachments to bend it into place.
Appearance, air direction, and future access
A ceiling face is often seen at an angle across the room, while a wall face may be viewed directly from a sofa or doorway. Compare finishes in the actual room lighting. White can blend with a light surface; Black can create a stronger visual line. Neither finish changes the opening dimensions or establishes mounting suitability.
Orientation can also change where adjustable blades direct air relative to occupants and nearby surfaces. Preserve required operating clearance and confirm adjustment remains accessible. For the sizing implications of blades, see adjustable blades and cover size.
Do not assume that a different face will solve uneven room temperatures or provide a particular air pattern. Those decisions may require performance information and an HVAC assessment. Likewise, choosing a ceiling cover does not justify moving an existing wall outlet without reviewing the duct arrangement.
Confirmed product examples: compare finish after fit
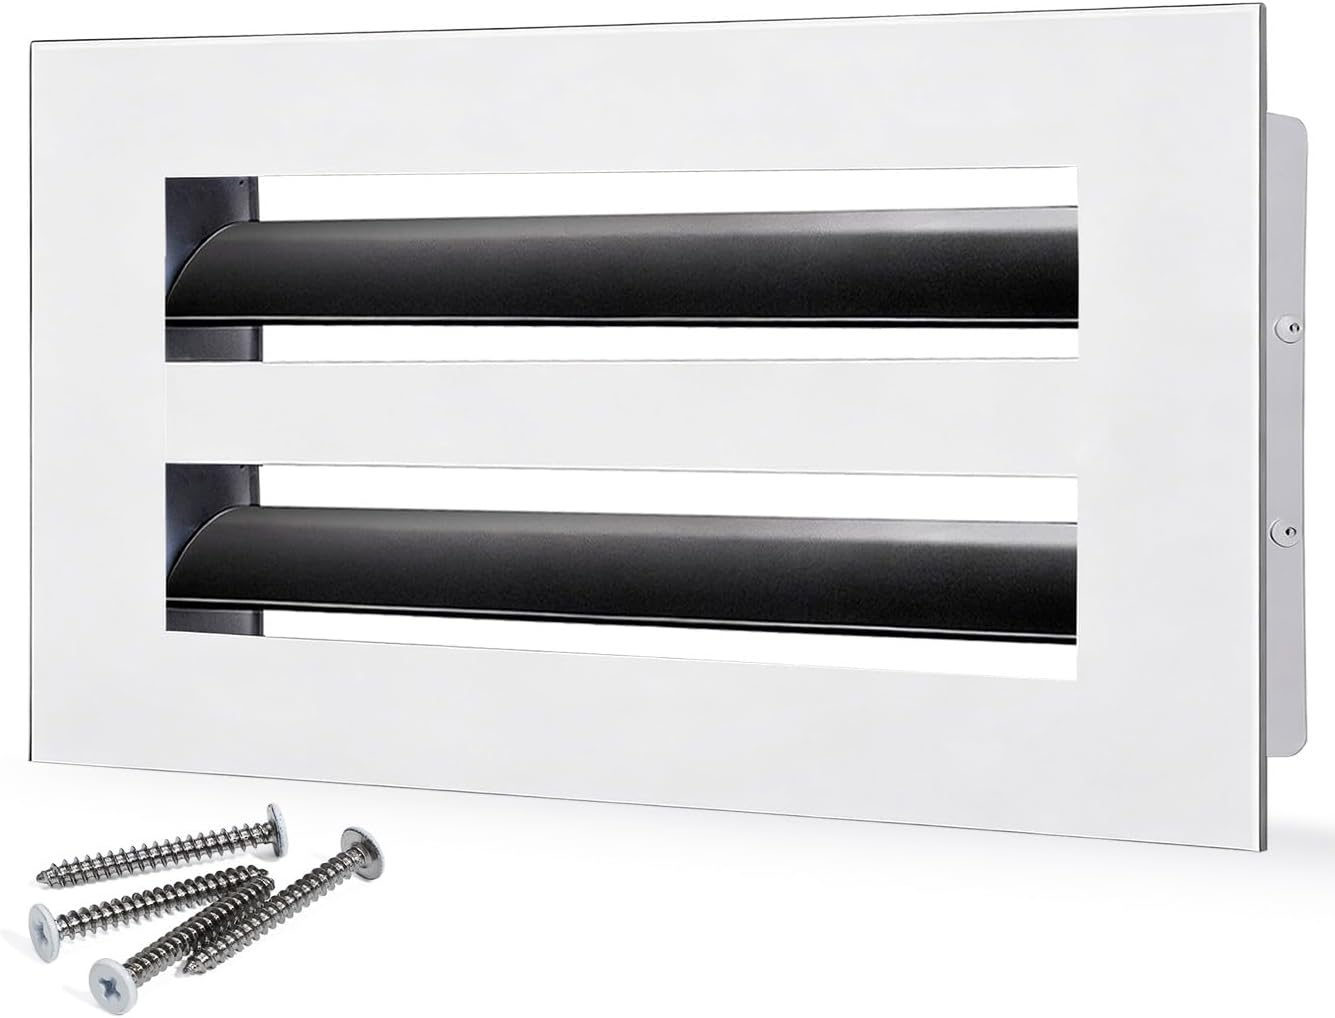
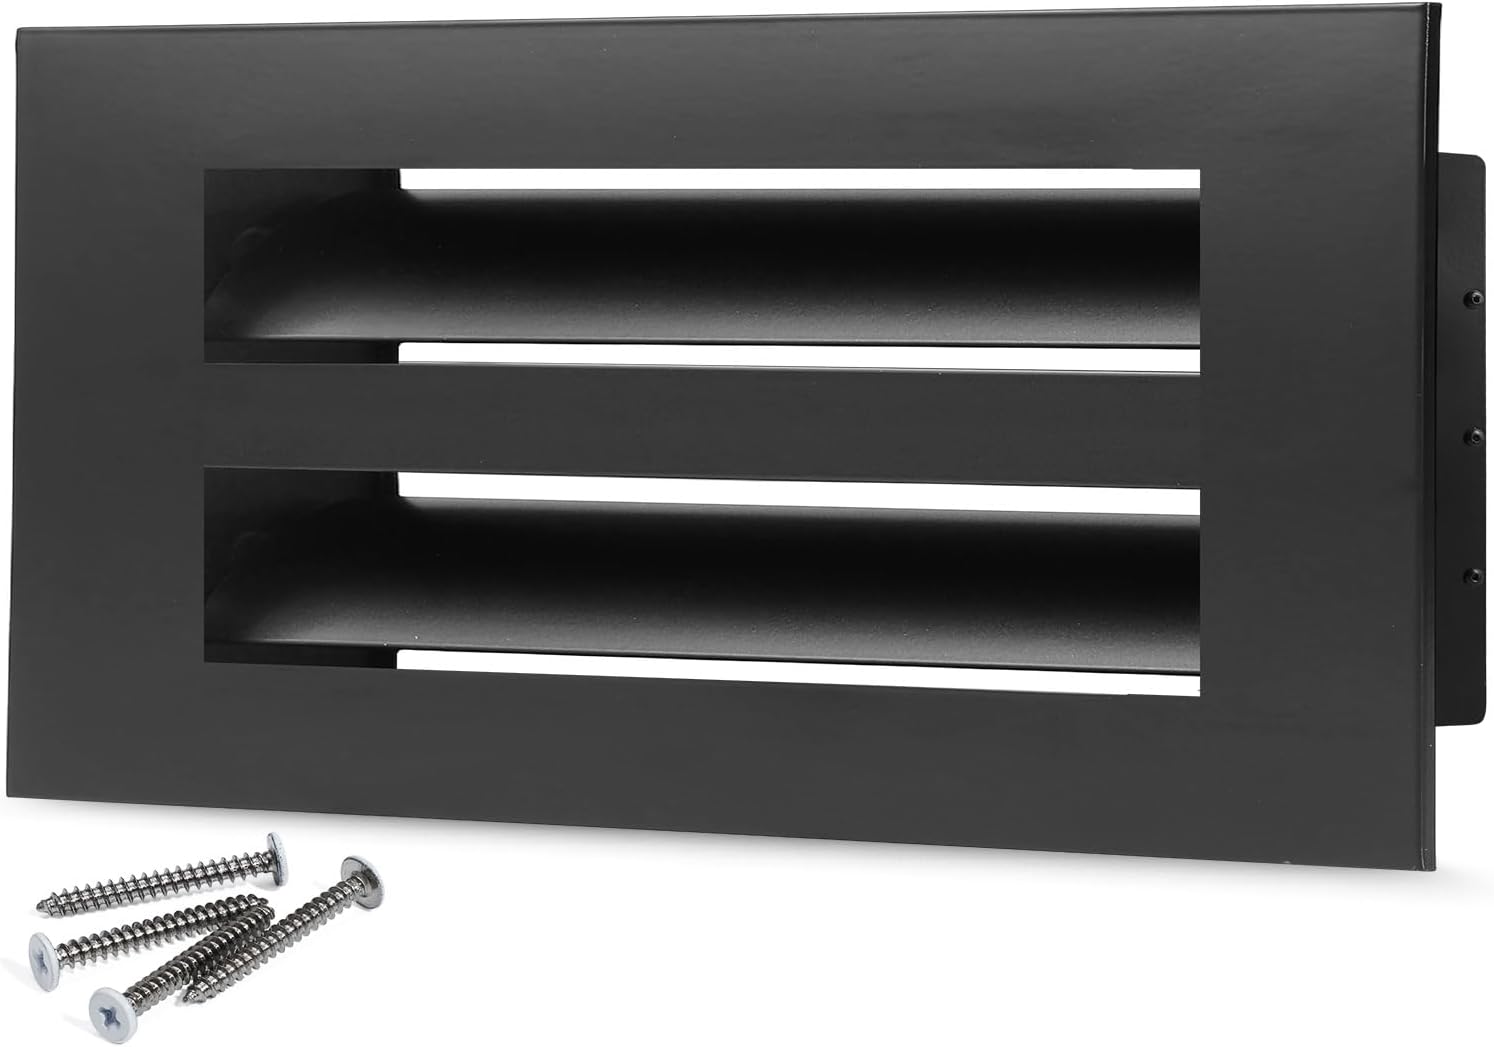
SOKNOCKK’s Confirmed 10×4 White and 10×4 Black photographs provide concrete finish examples within the decorative linear cover family. They do not establish compatibility with your opening, exact outside dimensions, attachment requirements, or overhead suitability.
Start with the vent cover collection, then check the Modern AC Vent Cover listing. Verify the required measurements and mounting details, select Size, then Color, and use Confirmed versus Pending information as presented in the listing.
Confirmed 10×4 White

Confirmed 10×4 Black
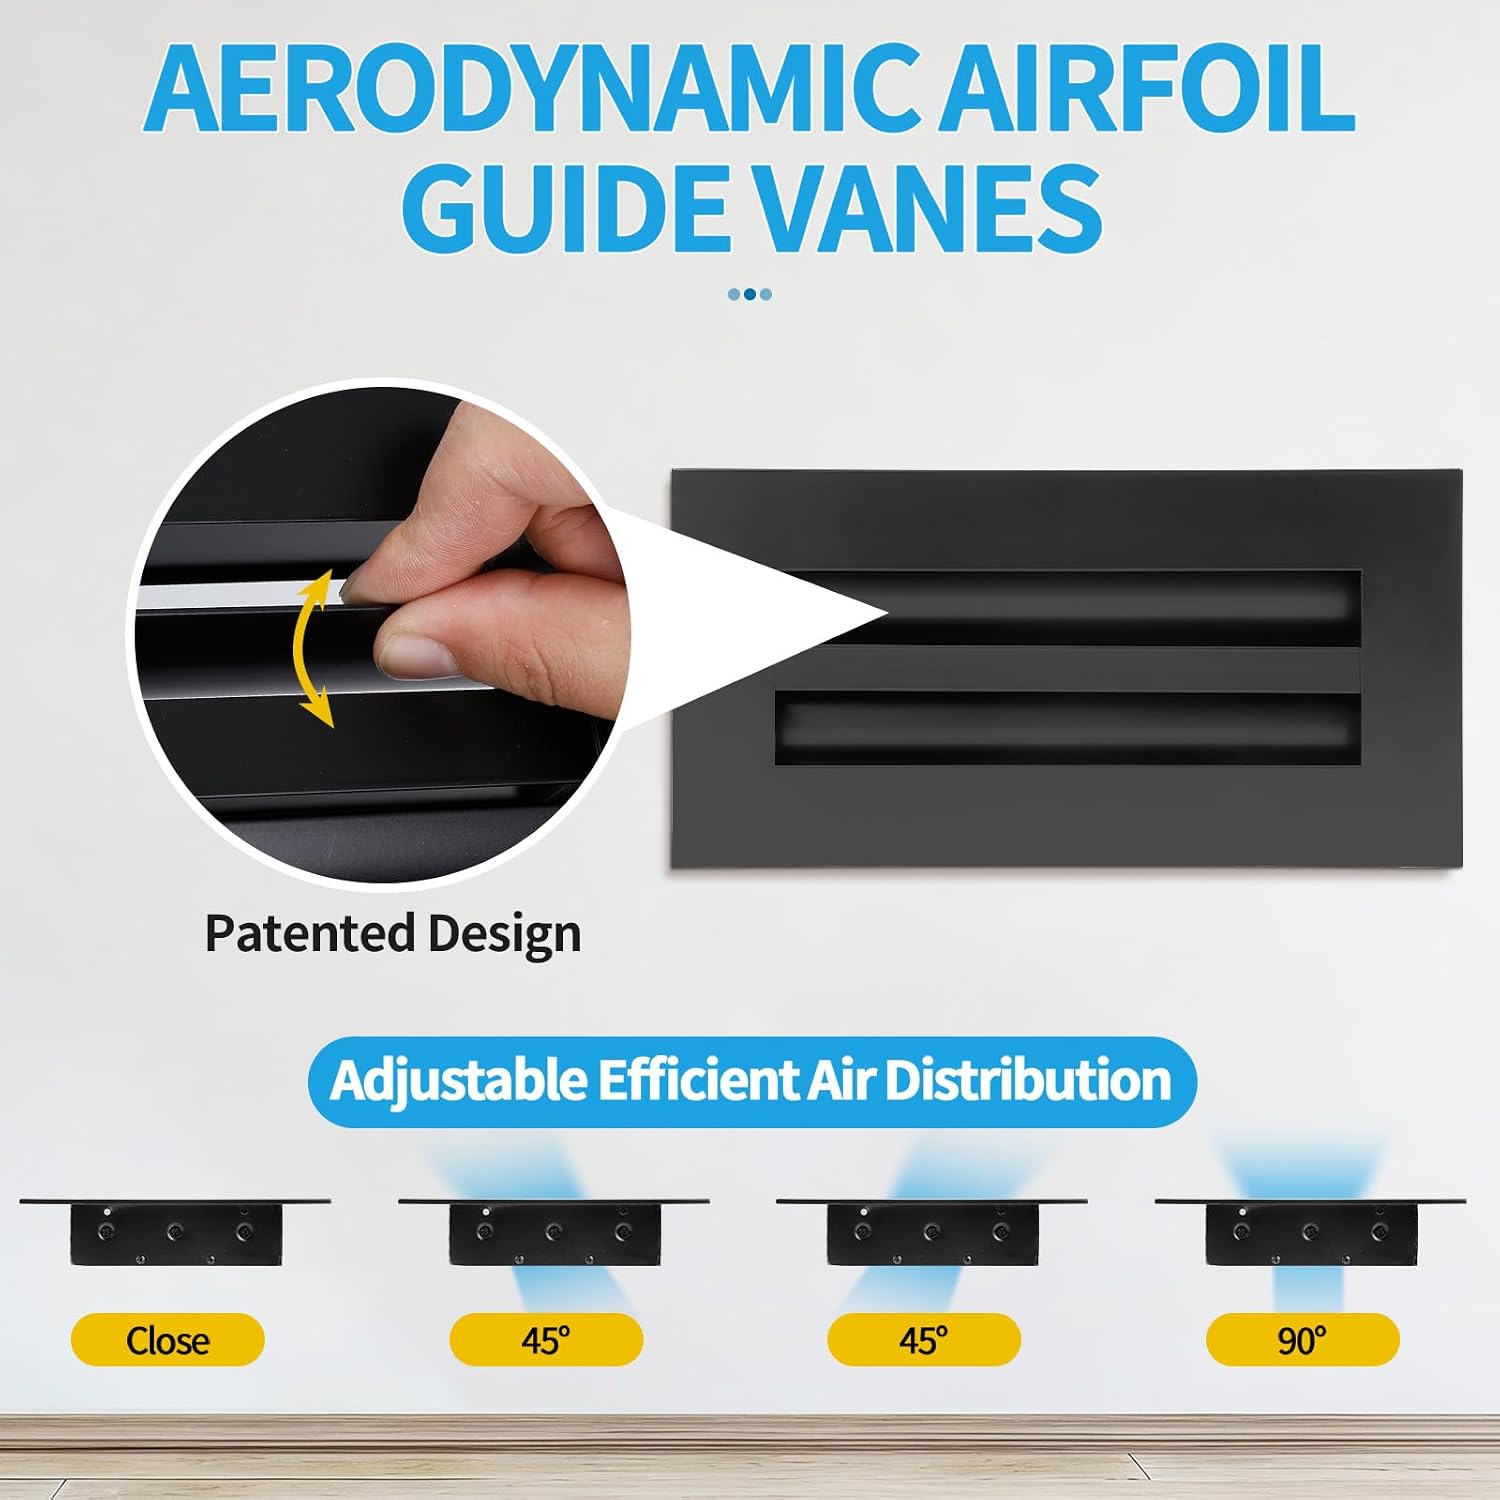
For terminology and the limits of decorative replacement claims, read the modern register, traditional grille, and diffuser comparison.
Buyer checklist: ready to choose and install?
- Opening role: I know whether it is supply or return and whether filter or service access must remain.
- Measurements: I have recorded the opening, orientation, available depth, and required outside coverage.
- Mounting: I have confirmed the attachment method suits the cover, location, and supporting material.
- Surface: The surrounding finish and mounting points are sound enough for the specified installation.
- Clearance: The cover and moving parts clear the duct, nearby trim, fixtures, furniture, and curtains.
- Handling: I can support the cover during fitting and future removal, with assistance where needed.
- Maintenance: Cleaning, adjustment, and required access remain practical after the room is restored.
- Selection: I will choose Size, then Color after checking compatibility.
If any mounting or fit answer remains uncertain, resolve it before fastening. Continue with the replacement guide once the cover and opening are compatible.
FAQ
Can the same vent cover be used on a wall and ceiling?
Potentially, if its instructions permit both orientations and specify a suitable attachment method. Matching dimensions alone are insufficient. Confirm installation suitability for the exact cover and supporting construction.
Does a ceiling vent need a different nominal size?
No. Placement does not change the opening’s dimensions. Measure the opening and verify the selected cover’s actual fit, outside coverage, depth, and mounting alignment.
Can I rotate a wall cover for a ceiling opening?
Rotation may change blade direction, control access, or mounting alignment. Confirm the permitted orientation and all relevant clearances rather than relying on the face’s rectangular shape.
Can I reuse the existing screws?
Only if they meet the replacement cover’s requirements and remain suitable for sound mounting points. Existing screws may differ in length, head shape, or thread, and old holes may be damaged.
Is a high wall cover easier to install than a ceiling cover?
Not necessarily. Height, reach, obstacles, and the cover’s dimensions determine handling difficulty. A high wall opening may require the same careful access planning as an overhead opening.
Should I choose wall or ceiling placement for better airflow?
For a replacement, preserve the existing location unless an HVAC assessment supports a change. Room airflow depends on outlet design, duct conditions, operating airflow, and the room layout. A decorative cover’s appearance cannot establish the better location.
What should I send when asking whether a cover will fit?
Provide opening measurements, orientation, available depth, and photos of the surrounding surface and existing attachment points. Include whether the opening is supply, return, or filter access. Ask explicitly about wall or ceiling mounting suitability.