Resource worksheet · Replacement fit
Screw Hole Alignment Check Before Ordering
Use this worksheet to record the old face’s mounting holes, compare them with a specific replacement linear cover, and decide whether you have enough evidence to order. Measure the duct opening separately; matching the opening size does not establish that the holes align.
Quick answer
Mark Ready for order only when the measured opening fits the intended listing, you have a reliable center-to-center measurement of the old holes, and the listing or seller has verified the new face’s hole positions and mounting method for that exact item. If any dimension or mounting detail is missing, mark Needs verification. Do not infer hole spacing from a product photograph or assume that equal nominal sizes share a screw pattern.
This page does not save your entries. Complete the fields while measuring, then use browser print once if you need a paper record.
Need the decision walkthrough first? Read When Replacement Vent Cover Screw Holes Do Not Line Up for the inspection logic. Use this worksheet to record the numbers and mark Ready for order or Needs verification.
1. Identify what you are comparing
Have a tape measure or ruler with small increments, a straight-on photo of the old face, and the intended replacement listing ready. Use one unit throughout. Keep the old cover supported if you loosen it to see hidden holes; ceiling covers may need another person. You can often measure exposed screw heads with the old face still attached. If holes are concealed or the cover cannot be handled safely, record that limitation instead of guessing.
For help separating opening dimensions from cover dimensions, use the opening measurement guide and nominal versus actual size guide. Do not use the old cover’s outside dimensions as a substitute for the duct opening.
2. Record the old face’s hole pattern
Choose an orientation before measuring: stand facing the installed cover and call the left edge left. Photograph the whole cover square-on with a ruler in the frame, then take a close photo of each hole. Measure from the center of one hole to the center of the other, not from screw-head edge to screw-head edge. If the holes are slots, record each slot’s direction and approximate length as well as the center positions. A photograph is a useful record, but perspective can distort measurements; rely on the ruler reading.
If the old holes are stripped or the backing moves, alignment alone will not establish a sound mounting point. Record the issue for a qualified installer or the seller before ordering.
3. Verify the replacement’s pattern
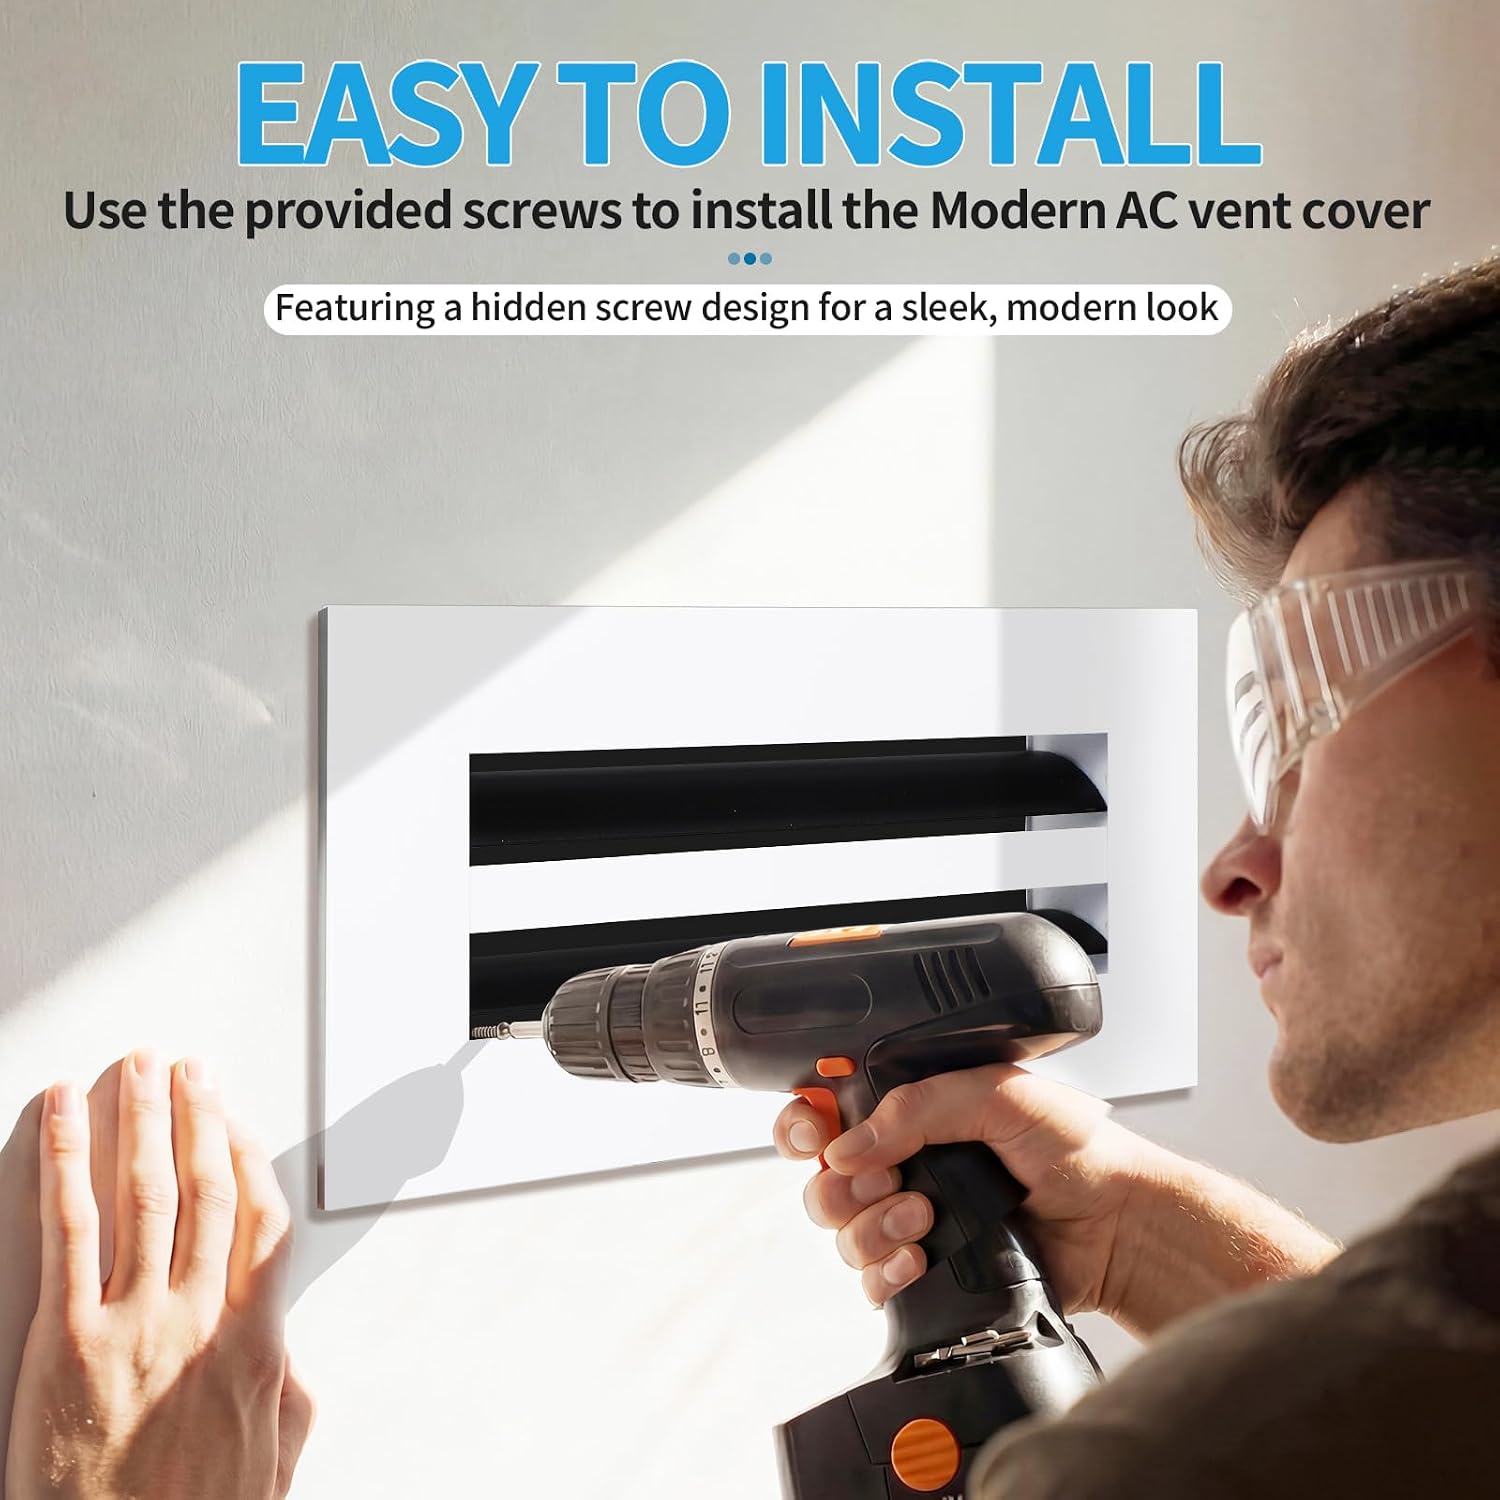
Find a dimensioned drawing, installation instructions, or a written seller answer for the exact Size and Color in your intended listing. Ask for the new face’s hole count, center-to-center spacing, edge offsets, slot dimensions if applicable, and where its screws are intended to land. A 10×4 White installation photo illustrates construction only; it cannot verify a different size’s spacing. Also check the listing for included hardware rather than assuming screws come with the cover.
Do not treat a small numerical difference as acceptable unless the replacement instructions or seller confirms how the face mounts. Slots, screw diameter, edge clearance, and usable backing can matter as much as the headline spacing.
4. Go/no-go decision
| Check | Ready for order | Needs verification |
|---|---|---|
| Opening and item | Measured opening matches the intended Size and Color listing’s stated fit. | Opening is unmeasured, listing fit is unclear, or only the old face size is known. |
| Old pattern | Hole count, center spacing, orientation, and mounting surface are recorded reliably. | Holes are hidden, measurements conflict, or backing is damaged or unknown. |
| New pattern | Exact-item mounting dimensions and method are verified from a drawing, instructions, or seller. | Only a photo, another size’s details, or an assumed standard pattern is available. |
| Comparison | Positions and mounting surface agree, including any permitted adjustment confirmed by the source. | Positions differ, adjustment is uncertain, or a new mounting approach would be required. |
If you mark Needs verification, send the intended listing’s Size then Color, measured opening, old center spacing, edge offsets, and clear photos to the seller or installer. Ask for the exact replacement mounting dimensions and a compatible fastening approach. Avoid enlarging holes or forcing screws to make an unverified face appear to fit.
When you are ready to replace the cover, follow the separate replacement guide. This worksheet is the pre-order record, not an installation or fastening checklist.