REMODEL SEQUENCING GUIDE
When to Install Linear Vent Covers During a Remodel
The cleanest result usually comes from separating opening protection from final face installation. Keep the duct opening protected while trades work, then fit and fasten the decorative linear cover after the surrounding surface is finished and safe to handle.
Quick answer
For most US home remodels, confirm the opening and dry-fit the cover after drywall is complete, but leave the finished linear face off during joint compound, sanding, primer, and wall or ceiling paint. If you need temporary opening protection during remodel work, coordinate with the HVAC technician or installer of record. Use only a temporary, removable barrier that does not obstruct the duct, and do not randomly seal supply or return paths on a normally operating system. Temporary dust protection is not permission for long-term blocking of airflow. Install the powder-coated aluminum face after the adjacent paint is finished and the room is being cleaned. For floor applications, wait until the finished flooring and transitions are in place, then install and protect the cover from traffic during the punch list.
There is no universal trade wait time to invent. Follow the drywall, coating, flooring, and HVAC professionals’ instructions for their materials and site conditions. The sequence below is a coordination framework, not a substitute for those instructions.
A practical remodel sequence
Start by identifying each opening as supply or return and recording its clear opening dimensions. A linear face is selected by Size first and Color second. The nominal label is not a promise that the face, neck, or visible coverage has the same dimensions, so compare the measured opening with the exact Size+Color listing before ordering. Use the vent-opening measurement guide and the nominal-versus-actual size resource for that work.
1. Protect the opening during demolition and rough work
Before demolition, remove the old face if it must come out for access. Label the opening and keep screws, dampers, and any removable parts together. A temporary cover can keep sanding dust and loose debris out, but it should be easy to remove and should not be taped across the air path in a way that restricts airflow. The educational 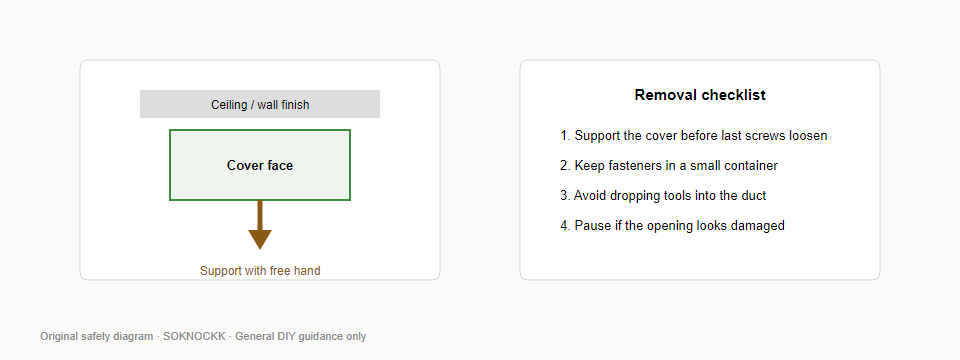 safe-removal diagram is a reminder to support the face while releasing concealed fasteners; it is not a jobsite photo.
2. Complete framing and drywall before final face work
Have the opening framed, patched, and brought to its intended finished plane before treating the decorative cover as final. Drywall edges that are still moving, being feathered, or awaiting sanding can change the apparent fit. A temporary barrier protects the duct while joint compound and sanding continue. Do not use the final powder-coated face as a sanding mask: compound can collect in slots, and repeated removal can mark fresh wall work.
3. Dry-fit after drywall finishing
When the drywall surface is ready for primer, place the actual cover at the opening without committing it. Check orientation, face coverage, neck insertion, blade access, and screw-hole alignment. A dry-fit is a coordination check; it is not a reason to force the neck into an opening that is out of square. If the face does not sit flat, stop and resolve the opening or mounting condition before primer and paint hide the problem. See dry-fit checklist before fastening and screw-hole alignment guidance.
4. Prime and paint the surrounding surface with the face removed
Remove the face for primer, texture, caulk decisions, and finish coats. Keep the opening identified with a temporary label or removable protection. Painting around a permanently installed cover creates a narrow edge that is difficult to cut cleanly and makes later removal more likely to pull paint. The listed finish on these aluminum faces is powder-coated; treat the face as a finished component and do not assume a site paint system is chemically compatible. If a custom color is needed, review the dedicated paint-versus-listed-color FAQ before changing the finish.
5. Finish flooring before a floor-mounted face
For a floor opening, the finished flooring height, underlayment, trim, and transition details affect the final plane. Keep the decorative face out while flooring is cut, glued, nailed, grouted, or otherwise finished. After the floor is complete and debris is removed, dry-fit the cover again. Confirm that the face is not proud of the walking surface and that the opening remains clear. A catalog application label does not provide a floor-load rating, so follow the project professional’s decision for location and traffic exposure.
6. Install and protect during the punch list
Final fastening belongs near the end of the room’s finish work, once the surrounding surface is clean enough to inspect. SOKNOCKK linear covers are described as aluminum alloy with a powder-coated finish and hidden or concealed screw mounting; checked listings state that mounting screws are included. They are not magnetic or clip-in covers. Use the specified fasteners and the installation instructions for the selected variation. After fastening, use removable protection that does not touch wet paint and does not block the slots. Remove protection for the final HVAC and visual check.
How the surface changes the timing
Wall and ceiling openings share the same basic rule: finish the plane first, then install the visible face. Ceiling work deserves extra care because sanding dust falls into the opening and ladders or lifts can strike a protruding cover. Keep the face off until overhead sanding and painting are complete, then verify that the neck and screw locations remain accessible.
Floor openings add a second dependency: the finished floor elevation. A cover that fits before flooring may sit too low, too high, or against a transition after flooring is installed. Treat the final floor surface as the reference plane and coordinate with the flooring installer.
Trade timing comparison
| Remodel stage | Face status | What to verify |
|---|---|---|
| Demolition and rough access | Removed; opening temporarily protected | Opening identity, duct condition, safe access |
| Drywall hanging and finishing | Removed; keep dust out with removable protection | Opening shape and finished plane are stable |
| Primer and paint | Removed | Clean cut line and no coating on the finished face |
| Floor installation | Removed for floor openings | Final floor height and transition clearance |
| Room punch list | Dry-fit, then fasten | Flat seating, neck fit, screw alignment, clean slots |
Choosing the final face after the sequence is known
Order by the measured opening and the exact catalog variation. The product family is listed for ceiling, wall, and floor applications and for supply or return use, but those labels are not airflow test results or structural ratings. Adjustable airfoil blades are marketed for direction and volume control; they should not be treated as an airtight shutoff.
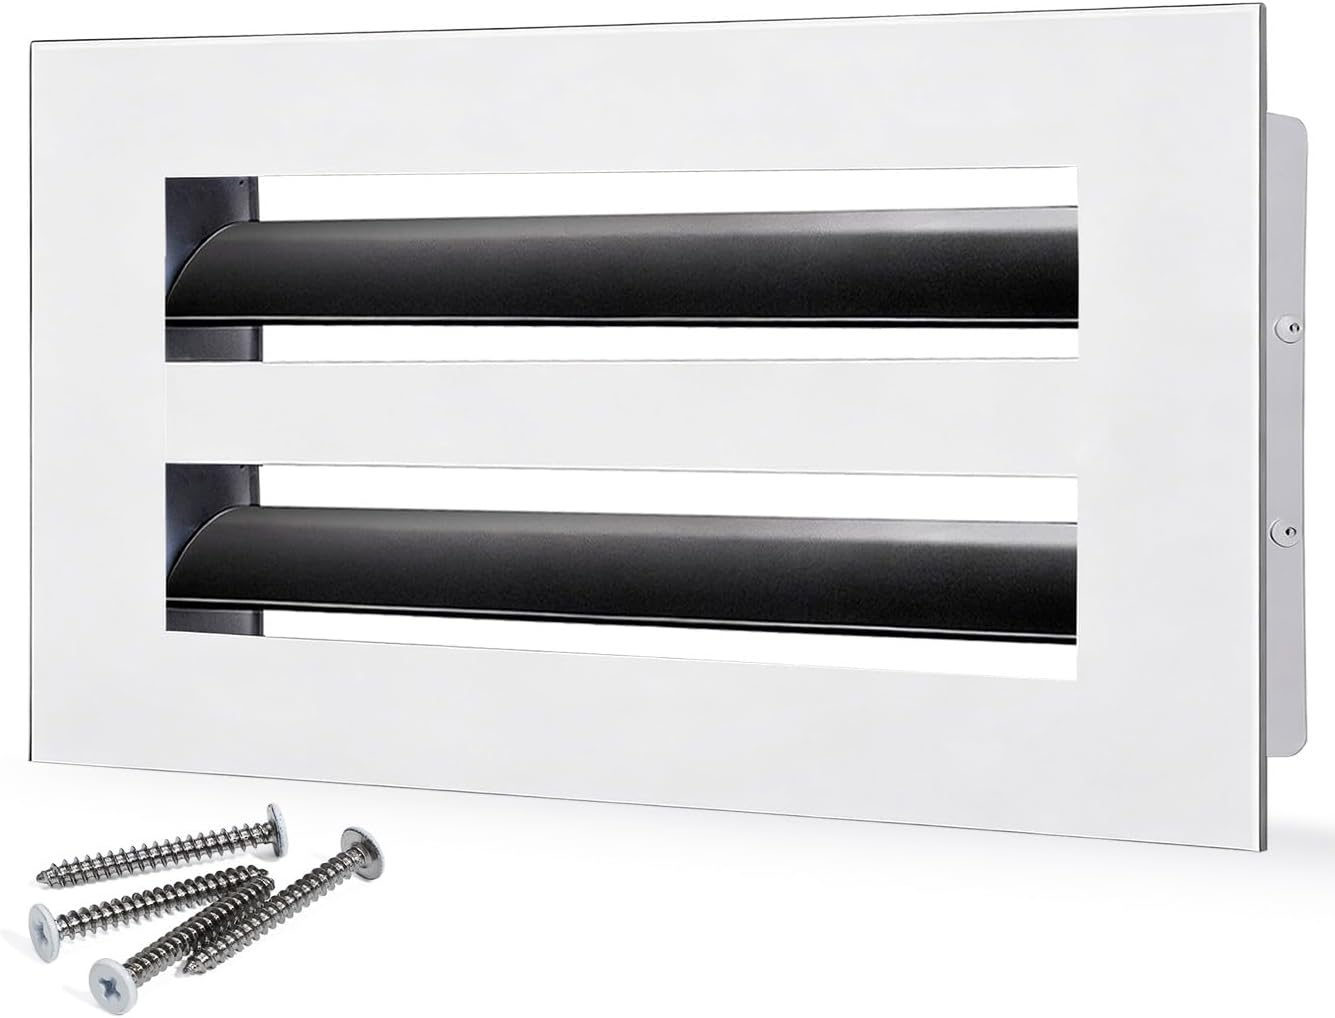
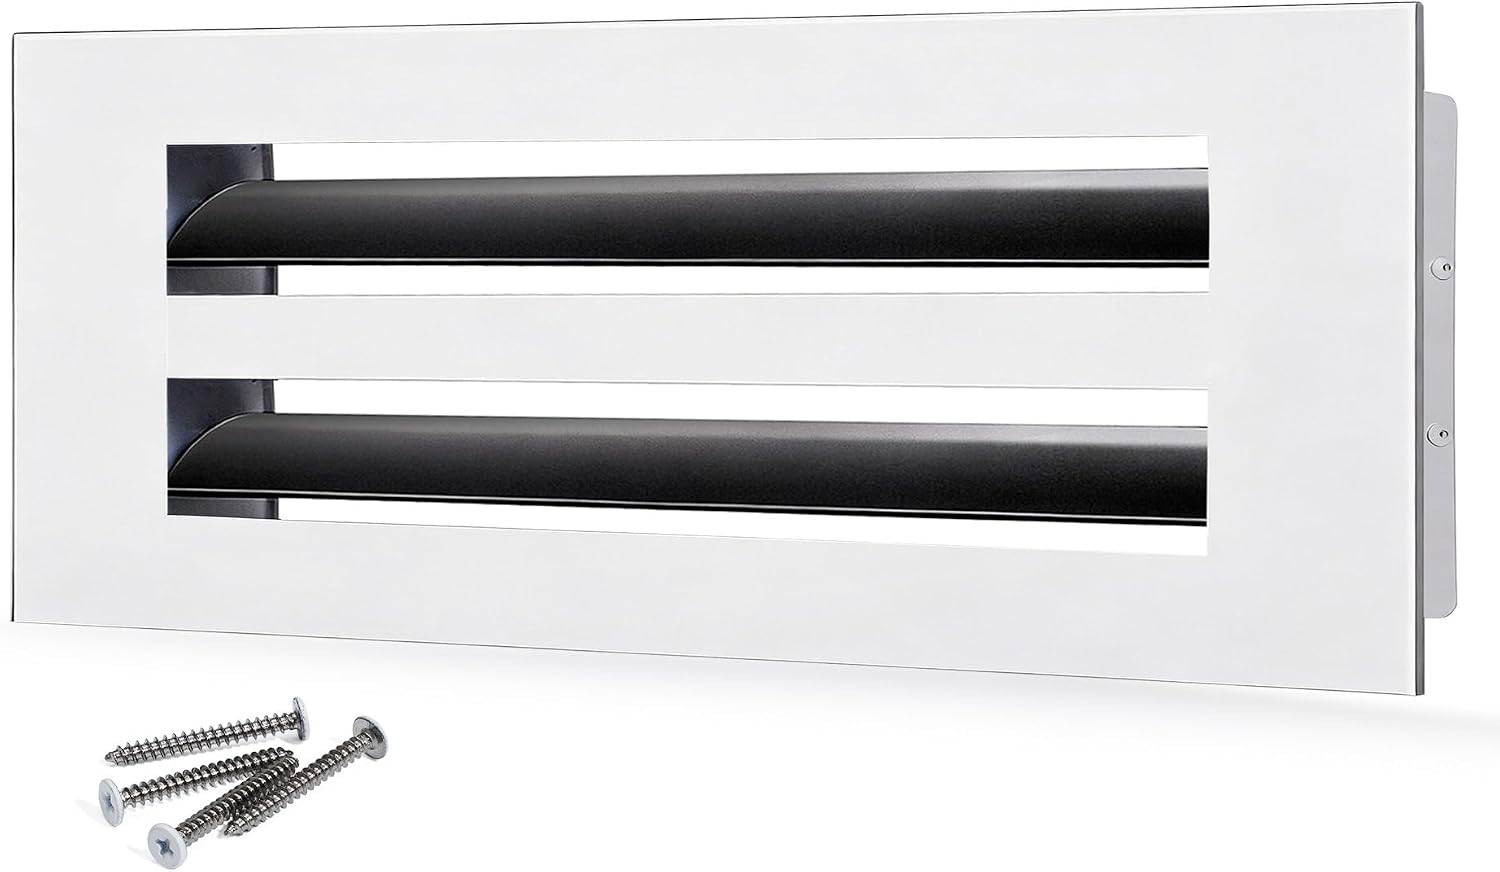
Use the vent-cover catalog to review available Size+Color choices, then use the Modern AC Vent Cover listing for the published face and neck details of that variation.
Sequencing mistakes that create rework
- Installing before sanding: dust enters slots and the face becomes a target for ladders, tools, and compound.
- Painting with the face in place: the edge can trap paint and make future service harder.
- Ordering from a room label alone: “10×4” does not replace a measured opening and exact face or neck dimensions.
- Skipping the second dry-fit: flooring, trim, or drywall repairs can change the final relationship.
- Using tape or random sealing as permanent protection or long-term airflow blocking: adhesive can mark a powder-coated surface or fresh paint; choose removable protection and inspect it often.
- Assuming application labels answer every question: wall, ceiling, and floor handling still depends on the opening, finish plane, and project professional.
Buyer checklist for a remodel order
- Record room, opening location, and supply or return role.
- Measure the clear opening after rough work and recheck after drywall finishing.
- Compare published neck and face dimensions for the exact Size+Color.
- Select Size first, then Color; do not use a 10×4 photo to represent another size.
- Confirm whether the final surface is wall, ceiling, or floor and coordinate with that trade.
- Plan a temporary, removable opening cover during sanding, primer, paint, and flooring.
- Schedule final dry-fit and hidden-screw fastening near punch-list completion.
- Inspect slots, face seating, screw alignment, and surrounding finish before turnover.
FAQ
Should the vent cover go on before primer?
Usually no. Dry-fit after drywall finishing, then remove the face for primer and paint. The final installation can follow once the surrounding finish is ready for inspection.
Can I leave a linear cover installed while walls are painted?
Leaving it installed increases the chance of paint in the slots, a rough cut line, or damage during masking. Use removable protection and install the finished face at the end of the room’s finish sequence.
When does flooring change the answer?
For a floor opening, flooring changes the reference elevation. Keep the face off until the finished floor and transitions are complete, then dry-fit and fasten.
Are these covers magnetic or clip-in?
The checked listings describe concealed screw mounting and state included mounting screws. They are not described as magnetic or clip-in covers. See the mounting-screws FAQ.
Do I need a special cure time before installing?
Do not rely on an invented universal interval. Follow the drywall, primer, paint, flooring, and adhesive manufacturers’ instructions and the project professional’s sign-off for the actual site.
What if the opening is not flat after paint?
Stop before fastening. Recheck the opening, face coverage, neck insertion, and screw locations. If the condition needs correction, resolve it before final installation; use the installation basics resource for general coordination.